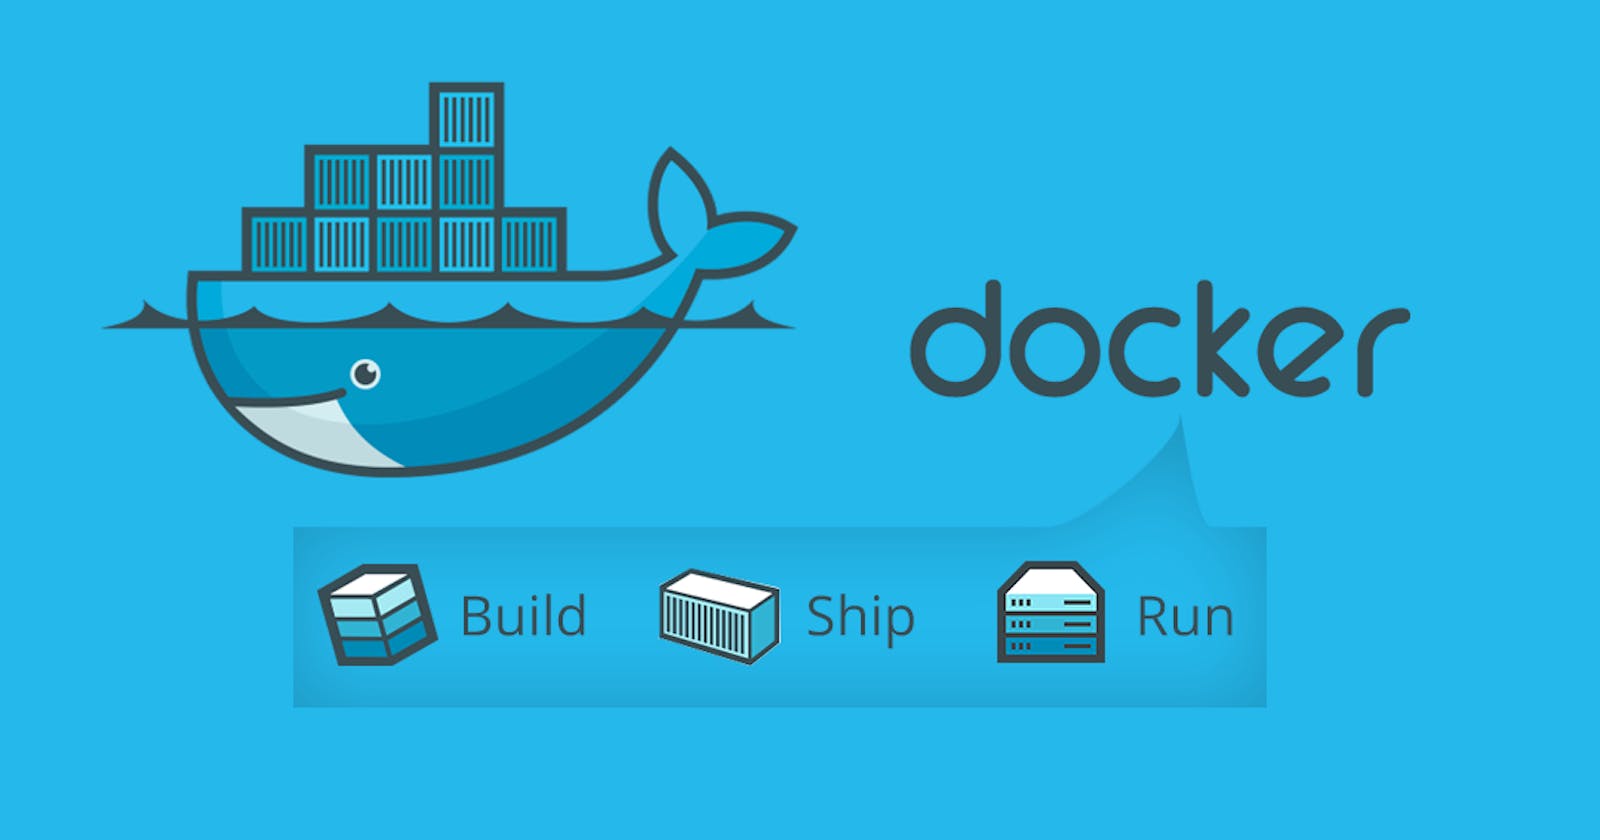


What is Docker?
Docker is an open-source centralized platform designed to create, deploy, and run applications.
Docker uses containers on the host's operating system to run applications.
It allows applications to use the same Linux kernel as a system on the host computer, rather than creating a whole virtual operating system.
Containers ensure that our application works in any environment like development, test, or production.
Docker is a platform that allows developers to easily create, deploy, and run applications in containers
Docker Containers
Docker containers are lightweight alternatives to the virtual machine.
The advantage of using a docker container is that you don't need to allocate any RAM and disk space for the applications. It automatically generates storage and space according to the application requirement.
Virtual Machine
A virtual machine is software that allows us to install and use other operating systems (Windows, Linux, and Debian) simultaneously on our machine.
The operating system in which virtual machine runs are called virtualized operating systems.
Containers Vs. Virtual Machine
| Containers | Virtual Machine |
| Integration in a container is faster and cheap. | Integration in virtual is slow and costly. |
| No wastage of memory. | Wastage of memory. |
| It uses the same kernel, but different distribution. | It uses multiple independent operating systems. |
Why Docker?
Docker is designed to benefit both the Developer and System Administrator. There are the following reasons to use Docker -
Docker allows us to easily install and run software without worrying about setup or dependencies.
Developers use Docker to eliminate machine problems, i.e. "but code is worked on my laptop." when working on code together with co-workers.
Operators use Docker to run and manage apps in isolated containers for better compute density.
Advantages of Docker
There are the following advantages of Docker -
It runs the container in seconds instead of minutes.
It uses less memory.
It provides lightweight virtualization.
It does not a require full operating system to run applications.
It uses application dependencies to reduce the risk.
Docker allows you to use a remote repository to share your container with others.
It provides a continuous deployment and testing environment.
Disadvantages of Docker
There are the following disadvantages of Docker -
In Docker, it is difficult to manage large amount of containers.
Docker is not a good solution for applications that require rich graphical interface.
Docker provides cross-platform compatibility means if an application is designed to run in a Docker container on Windows, then it can't run on Linux or vice versa.
Docker Engine
Docker Features
Although Docker provides lots of features, we are listing some major features which are given below.
Easy and Faster Configuration
This is a key feature of docker that helps us to configure the system easier and faster.
We can deploy our code in less time and effort.
Application Isolation
It provides containers that are used to run applications in an isolation environment. Each container is independent of another and allows us to execute any kind of application.
Swarm
It is a clustering and scheduling tool for Docker containers.
Services
Service is a list of tasks that lets us specify the state of the container inside a cluster.
Docker Architecture
What is Docker's daemon?
Docker daemon runs on the host operating system. It is responsible for running containers to manage docker services. Docker daemon communicates with other daemons.
Docker architecture
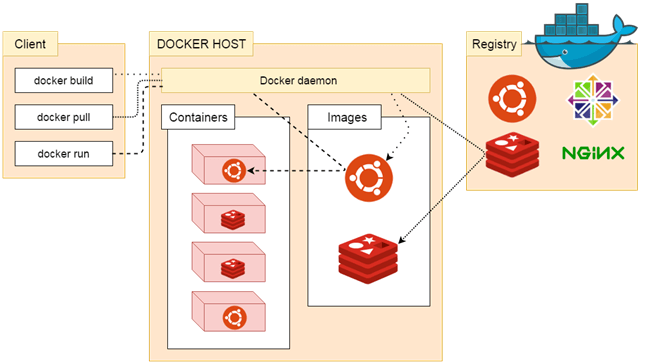
Docker Client
Docker users can interact with the docker daemon through a client.
The Docker client uses commands and rests API to communicate with the docker daemon.
When a client runs any docker command on the docker client terminal, the client terminal sends these docker commands to the Docker daemon.
Docker Client uses Command Line Interface (CLI) to run the following commands -
docker build
docker pull
docker run
Docker Host
Docker Host is used to providing an environment to execute and run applications. It contains the docker daemon, images, containers, networks, and storage.
Docker Registry
Docker Registry manages and stores the Docker images.
There are two types of registries in the Docker -
Pubic Registry - Public Registry is also called as Docker hub.
Private Registry - It is used to share images within the enterprise.
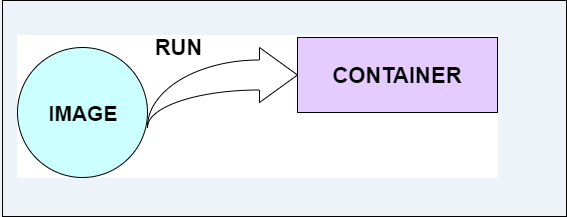
Docker Images
They are executable packages(bundled with application code & dependencies, software packages, etc.) to create containers.
Docker Containers
we can say that the image is a template, and the container is a copy of that template.
What is a DockerFile?
It is a text file that has all commands which need to be run for build a given image.

In what circumstances will you lose data stored in a container?
The data of a container remains in it until and unless you delete the container.
9. What is docker image registry?
A Docker image registry, in simple terms, is an area where the docker images are stored. Instead of converting the applications to containers every time, a developer can directly use the images stored in the registry.
This image registry can either be public or private and Docker hub is the most popular and famous public registry available.
10. How many Docker components are there?
There are three docker components, they are - Docker Client, Docker Host, and Docker Registry.
Docker Client: This component performs “build” and “run” operations to open communication with the docker host.
Docker Host: This component has the main docker daemon and hosts containers and their associated images. The daemon establishes a connection with the docker registry.
Docker Registry: This component stores the docker images. There can be a public registry or a private one. The most famous public registries are Docker Hub and Docker Cloud.
Docker Installation
Uninstall old versions
sudo apt-get remove docker docker-engine docker.io containerd runc
Set up the repository
Update the apt package index and install packages to allow apt to use a repository over HTTPS:
sudo apt-get update sudo apt-get install ca-certificates curl gnupg lsb-release
Add Docker’s official GPG key:
sudo mkdir -p /etc/apt/keyrings curl -fsSL https://download.docker.com/linux/ubuntu/gpg | sudo gpg --dearmor -o /etc/apt/keyrings/docker.gpg
Use the following command to set up the repository:
echo "deb [arch=$(dpkg --print-architecture) signed-by=/etc/apt/keyrings/docker.gpg] https://download.docker.com/linux/ubuntu $(lsb_release -cs) stable" | sudo tee /etc/apt/sources.list.d/docker.list > /dev/null
Install Docker Engine
sudo apt-get update
Install Docker Engine, containerd, and Docker Compose.
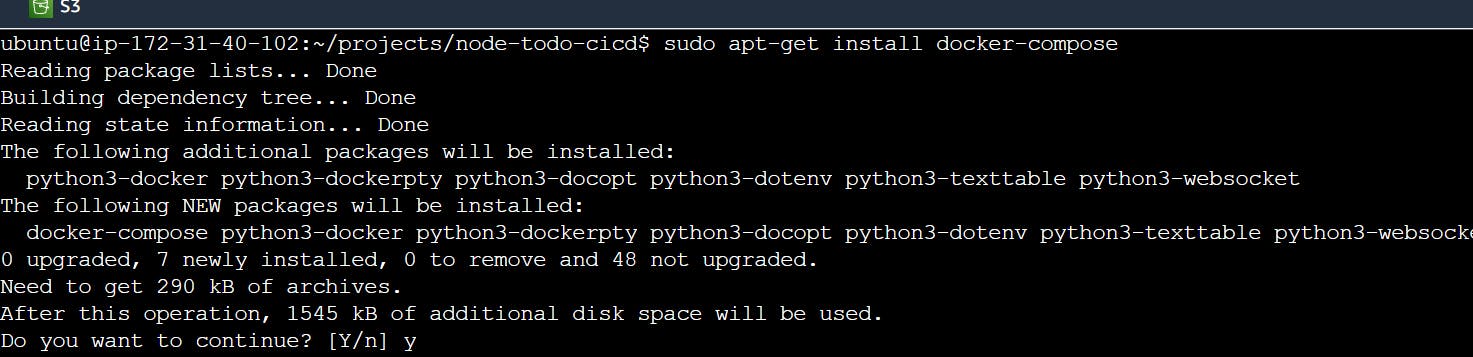
sudo apt-get install docker-ce docker-ce-cli containerd.io docker-compose-plugin
Verify that the Docker Engine installation is successful by running the hello-world image:
$ sudo docker run hello-world
*********it's a long process to install docker**************
Docker Installation(short process)
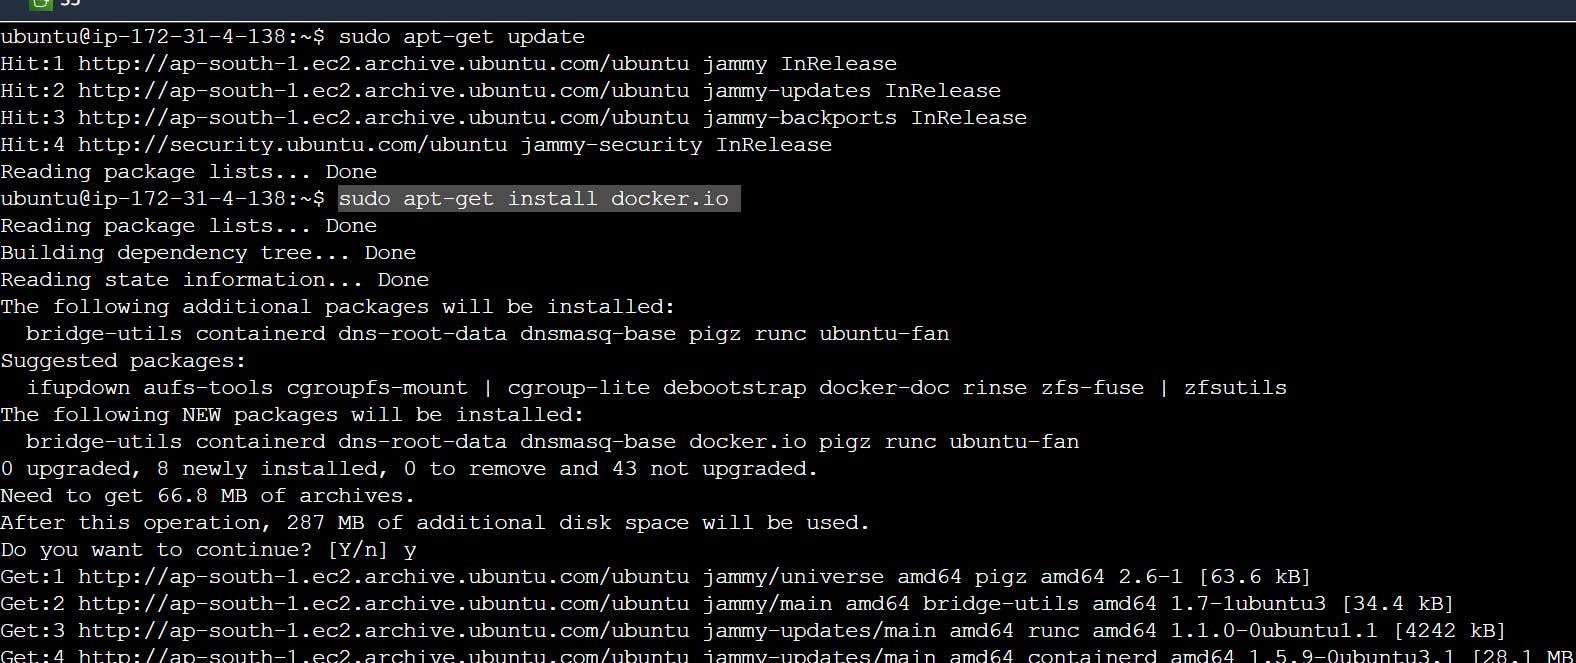
sudo apt-get update
sudo apt-get install docker.io
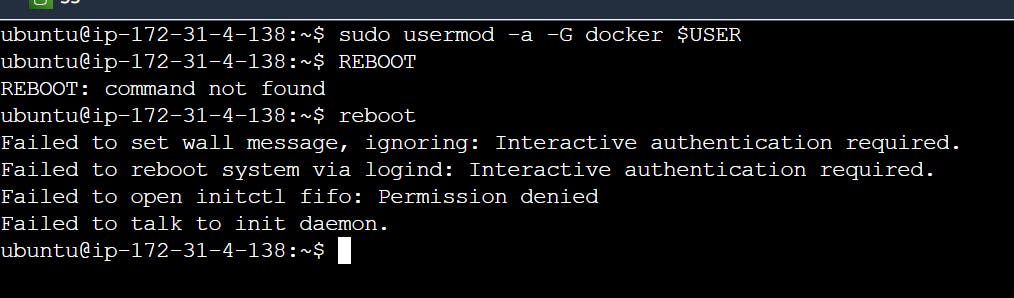
sudo usermod -a -G docker $USER
reboot
Docker Container

Docker commands:
note:- without using sudo how to run the docker command
sudo usermod -aG docker ${USER}
reboot
Dockerfile
A Dockerfile is a text document that contains commands that are used to assemble an image.
note :- file ----- Image -------Container------docker engine(run)
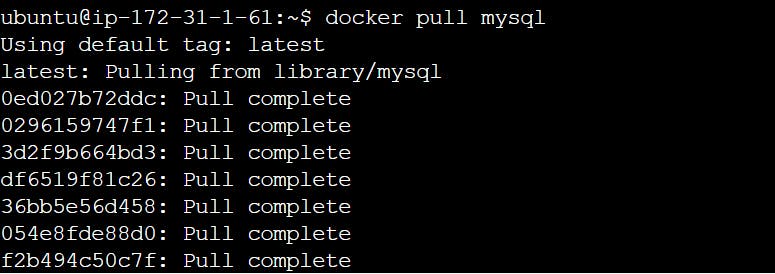
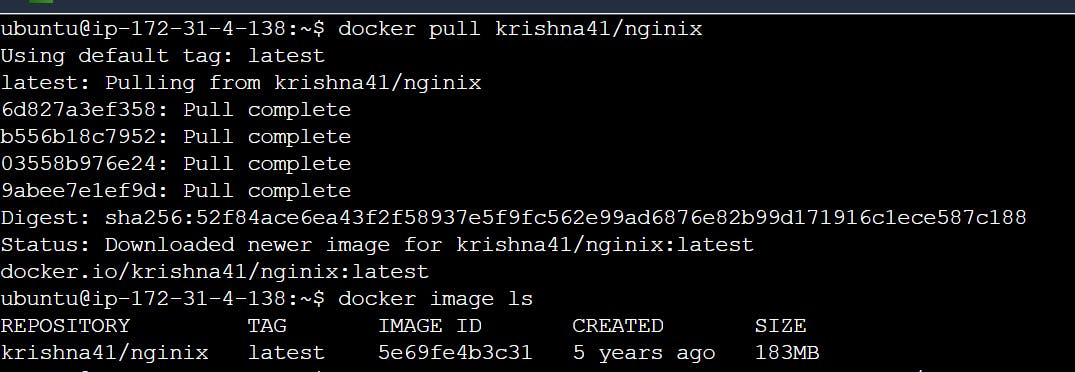
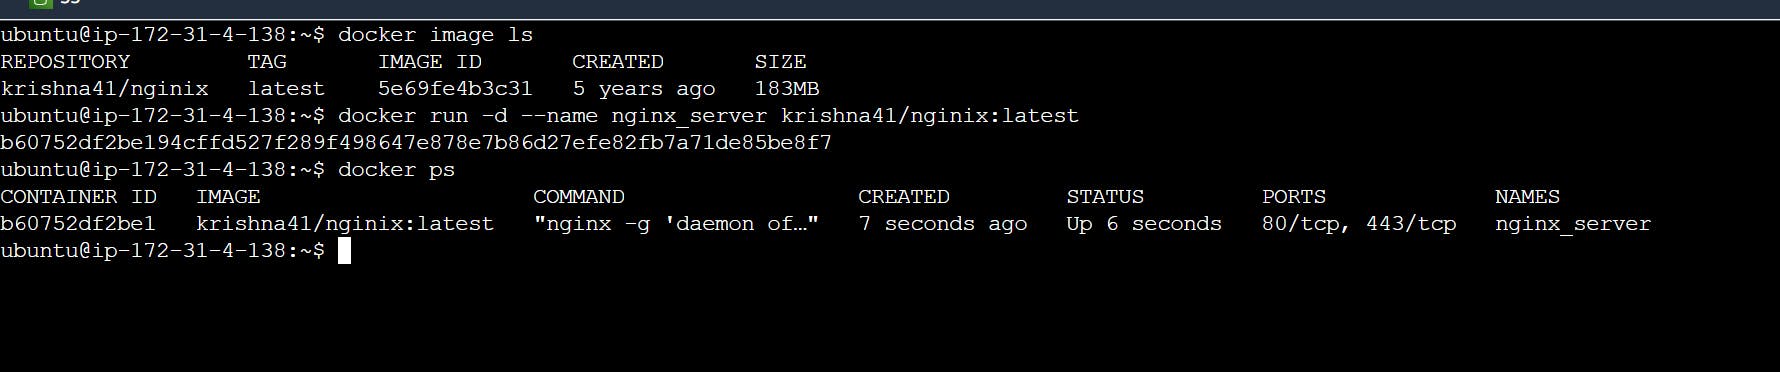
How to pull images in docker and how to create containers.


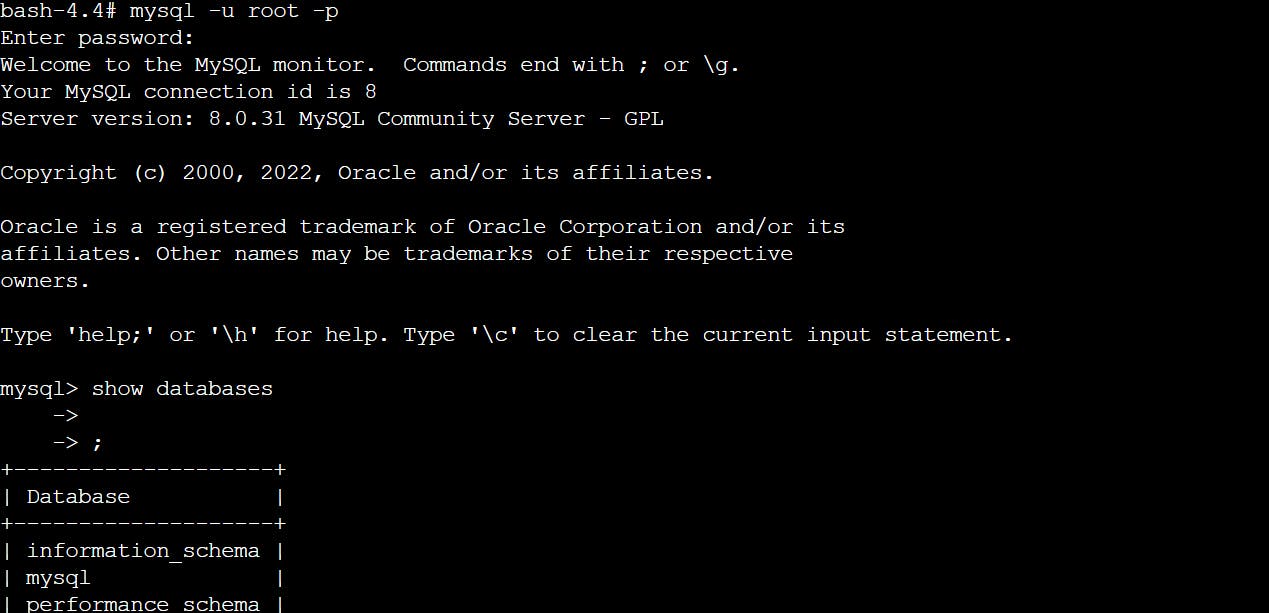
MySQL port number: 3306
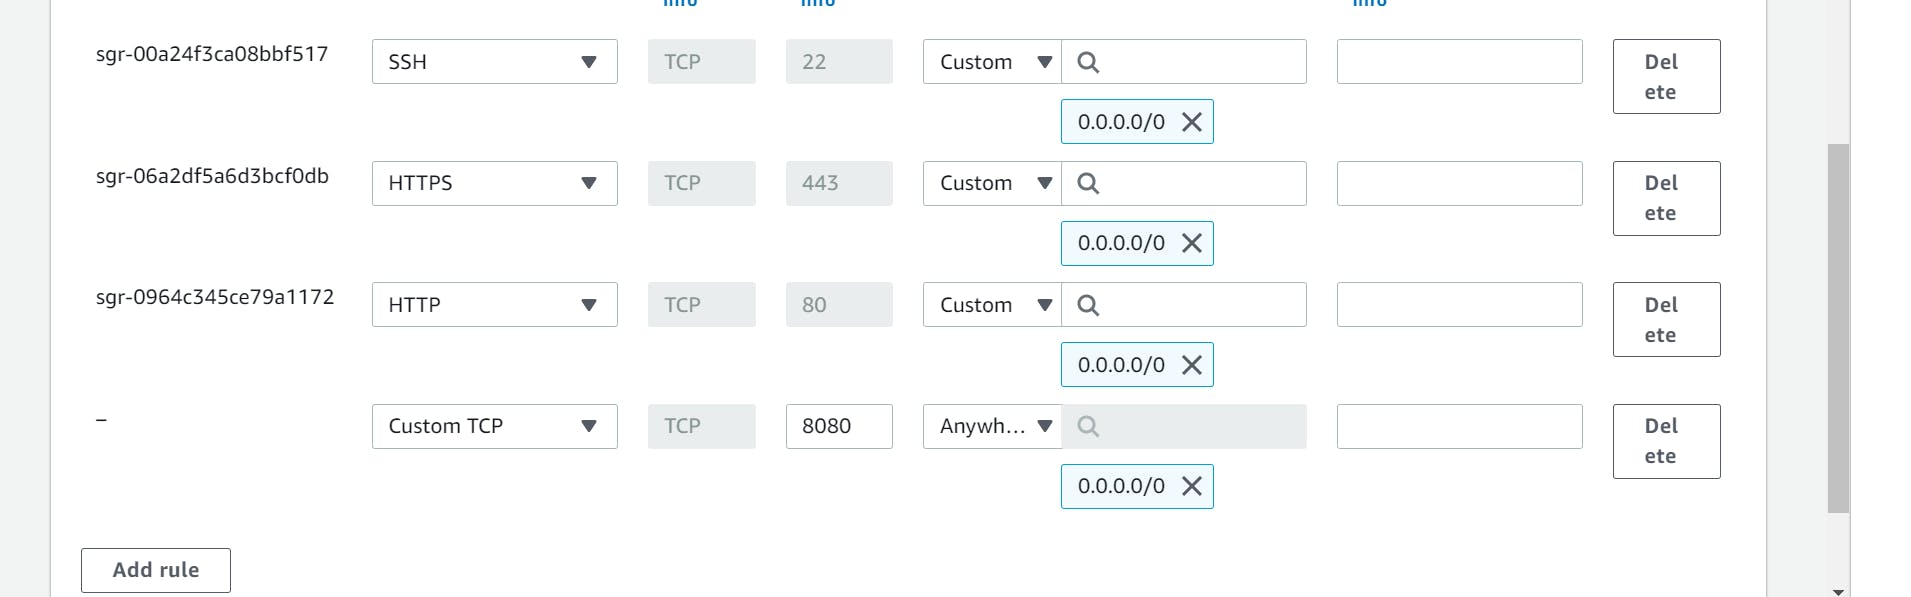
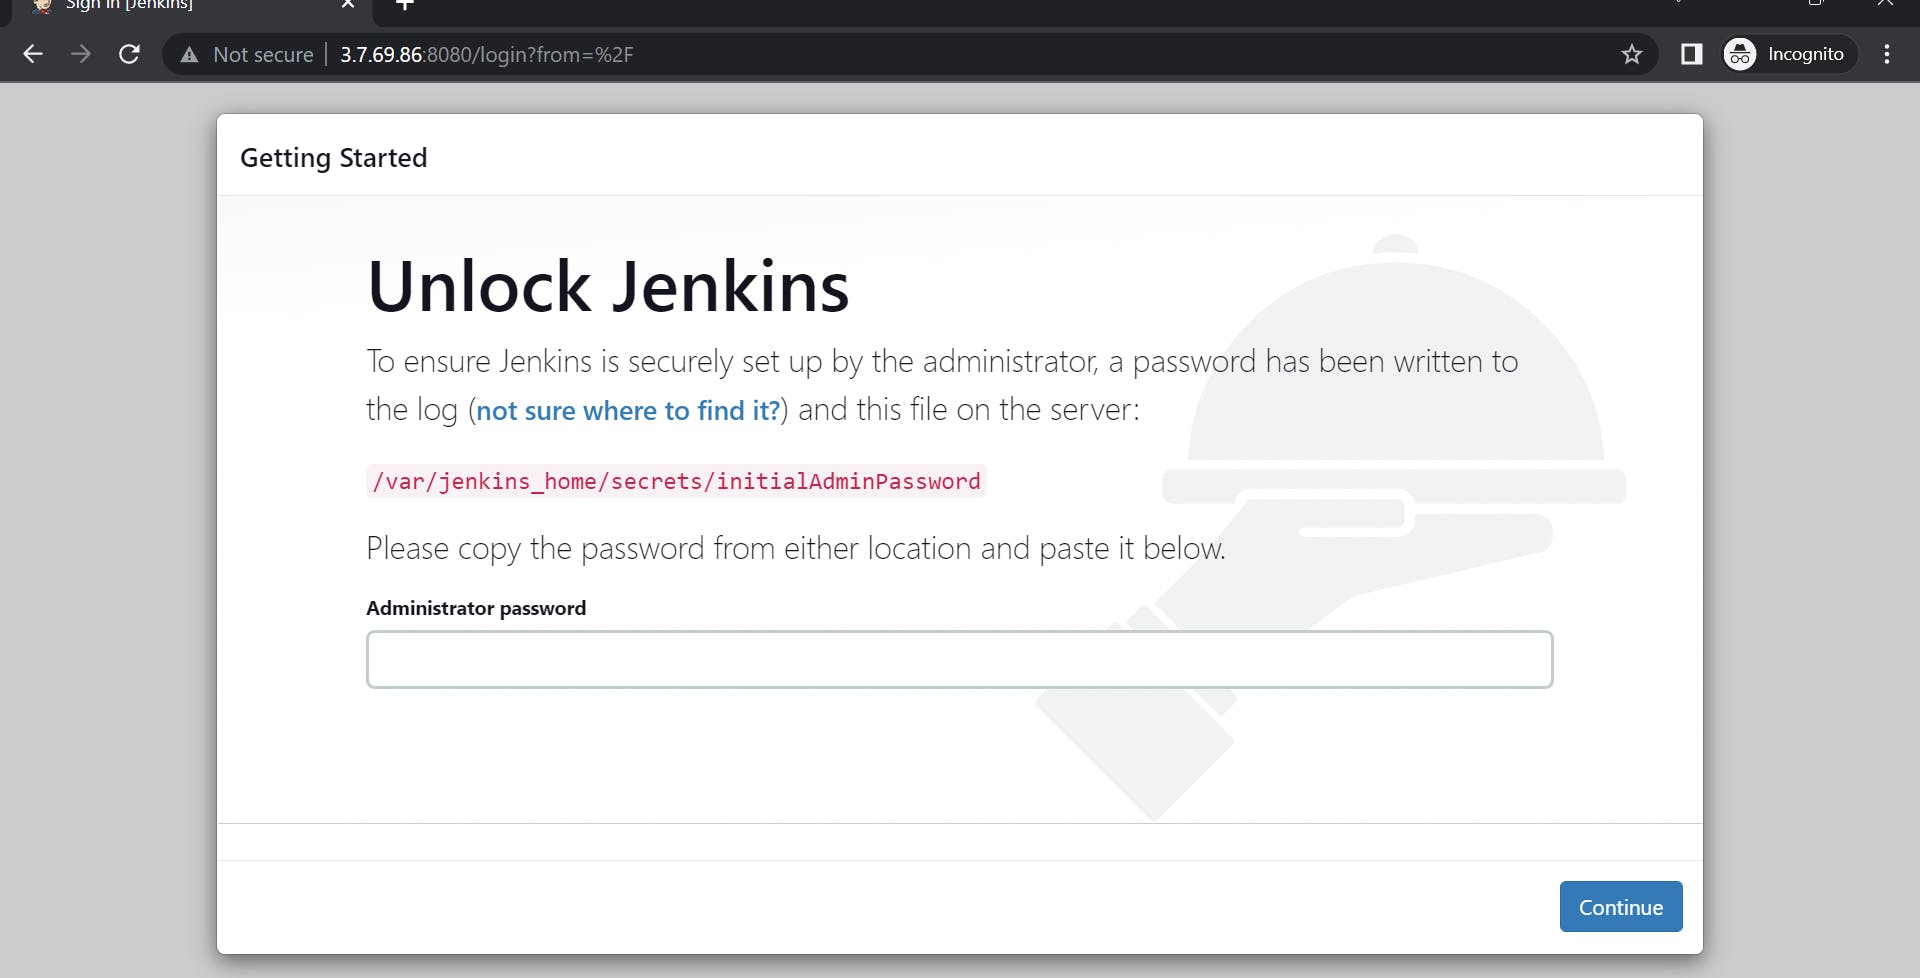
How to pull jenkins and expose container port
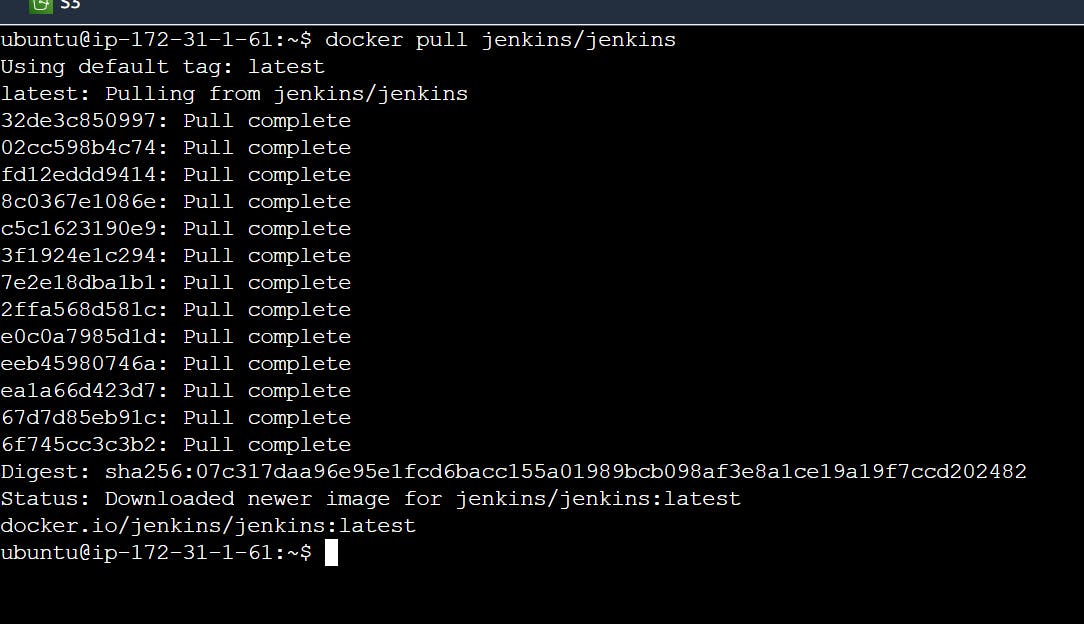

note: one image create multiple containers
-d = detached/background/daemon mode
docker ps -shows you running container
docker ps -a - shows you an exited container
How to create Nginx using docker
**NGINX is open-**source software for web serving, reverse proxying, caching, load balancing, media streaming, and more.
Dockerfile Instructions
FROM
This instruction is used to set the Base Image for the subsequent instructions. A valid Dockerfile must have FROM as its first instruction.
FROM ubuntuRUN
This instruction is used to execute any command of the current image.
Ex.
RUN /bin/bash -c 'source $HOME/.bashrc; echo $HOME'
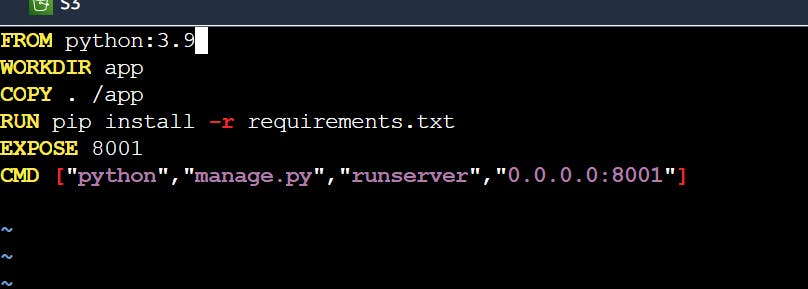
CMD
This is used to execute applications by the image. We should use CMD always in the following form
CMD ["executable", "param1", "param2"?]
This is the preferred way to use CMD. There can be only one CMD in a Dockerfile. If we use more than one CMD, only the last one will execute.
COPY
This instruction is used to copy new files or directories from the source to the filesystem of the container at the destination.
Ex.
COPY ABC/ /XYZRULE
The source path must be inside the context of the build. We cannot COPY ../something /something because the first step of a docker build is to send the context directory (and subdirectories) to the docker daemon.
If the source is a directory, the entire contents of the directory are copied including filesystem metadata.
WORKDIR
The WORKDIR is used to set the working directory for any RUN, CMD and COPY instruction that follows it in the Dockerfile. If the working directory does not exist, it will be created by default.
We can use WORKDIR multiple times in a Dockerfile.
WORKDIR /var/www/htmlLABEL: This is used for image organization based on projects, modules, or licensing.
Describe the lifecycle of Docker Container?
The different stages of the docker container from the start of creating it to its end are called the docker container life cycle.
The most important stages are:Created: This is the state where the container has just been created new but not started yet.
Running: In this state, the container would be running with all its associated processes.
Paused: This state happens when the running container has been paused.
Stopped: This state happens when the running container has been stopped.
Deleted: In this, the container is in a dead state.
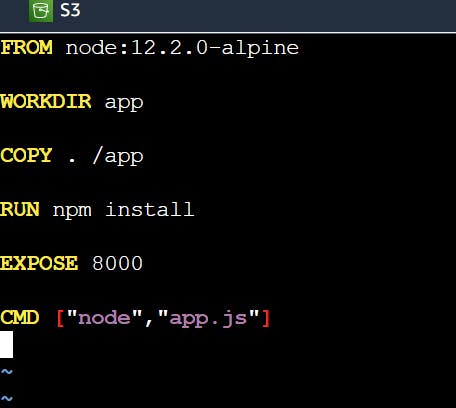
Java file example
FROM java:8
COPY . /var/www/java
WORKDIR /var/www/java
RUN javac Hello.java
CMD ["java", "Hello"]
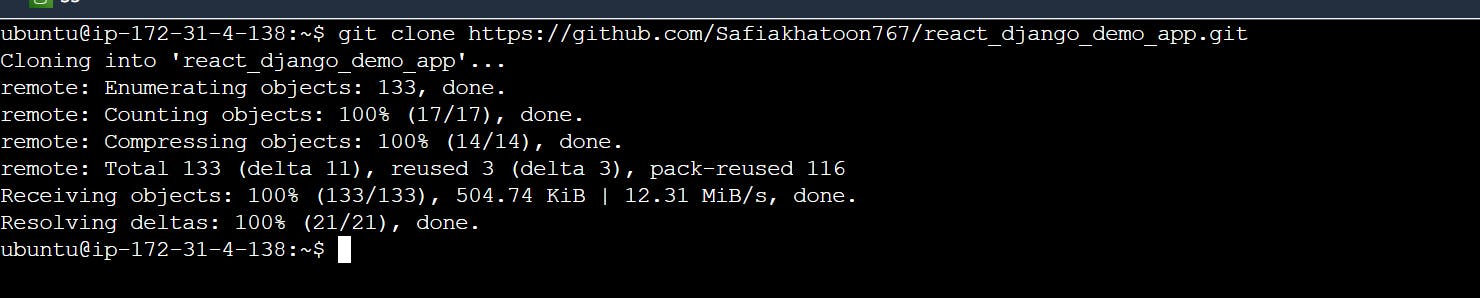
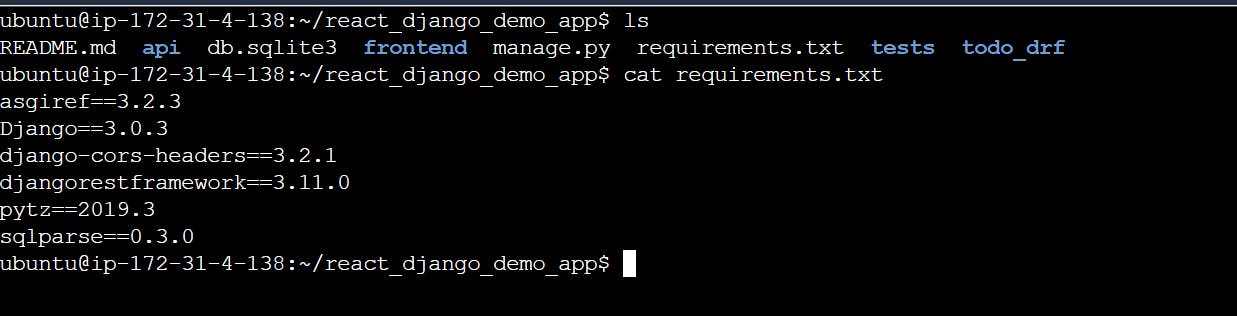
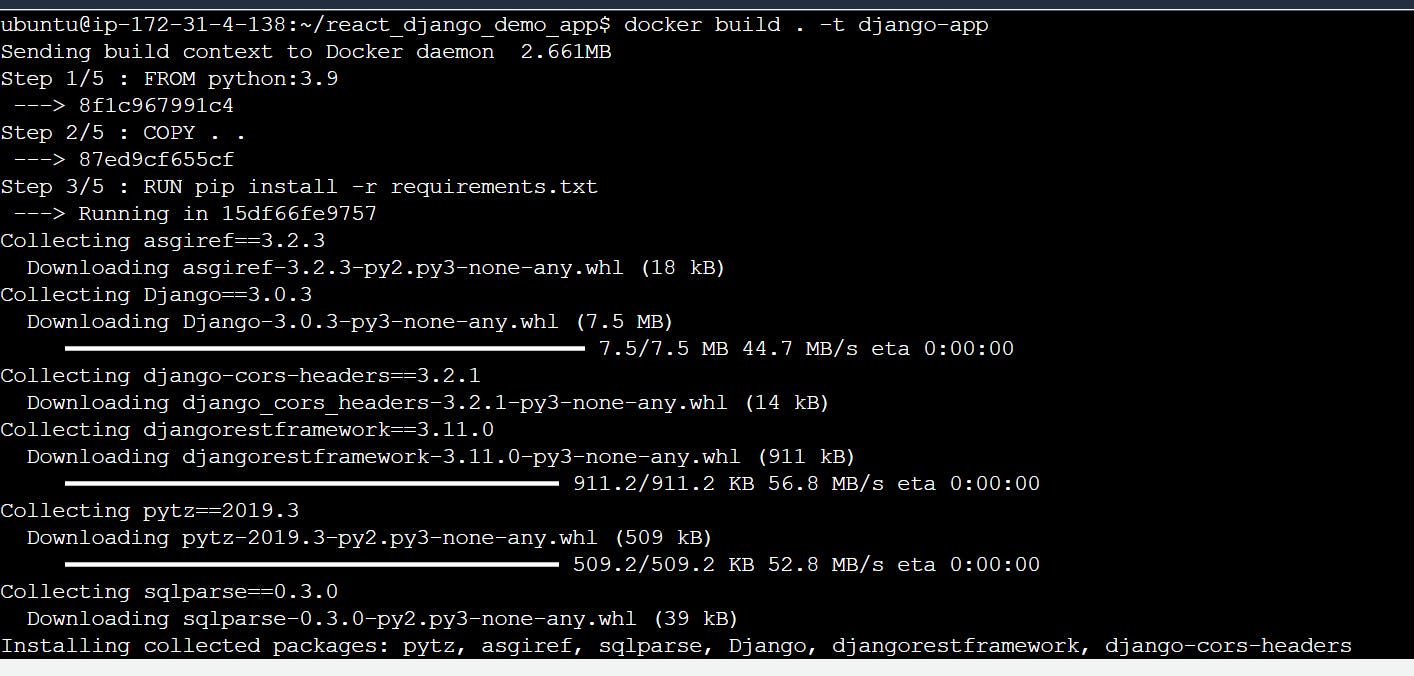
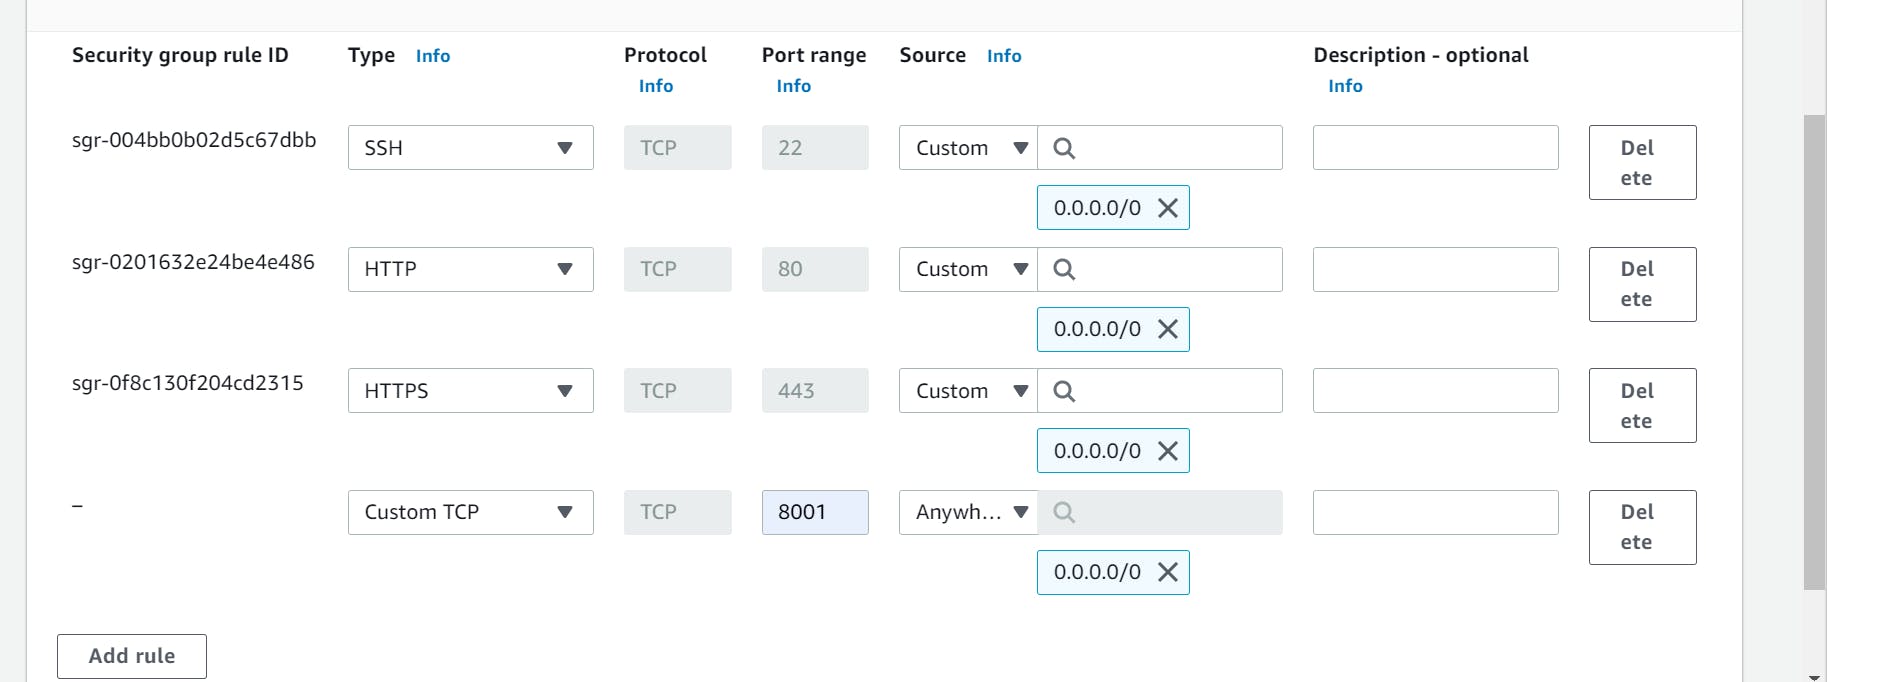
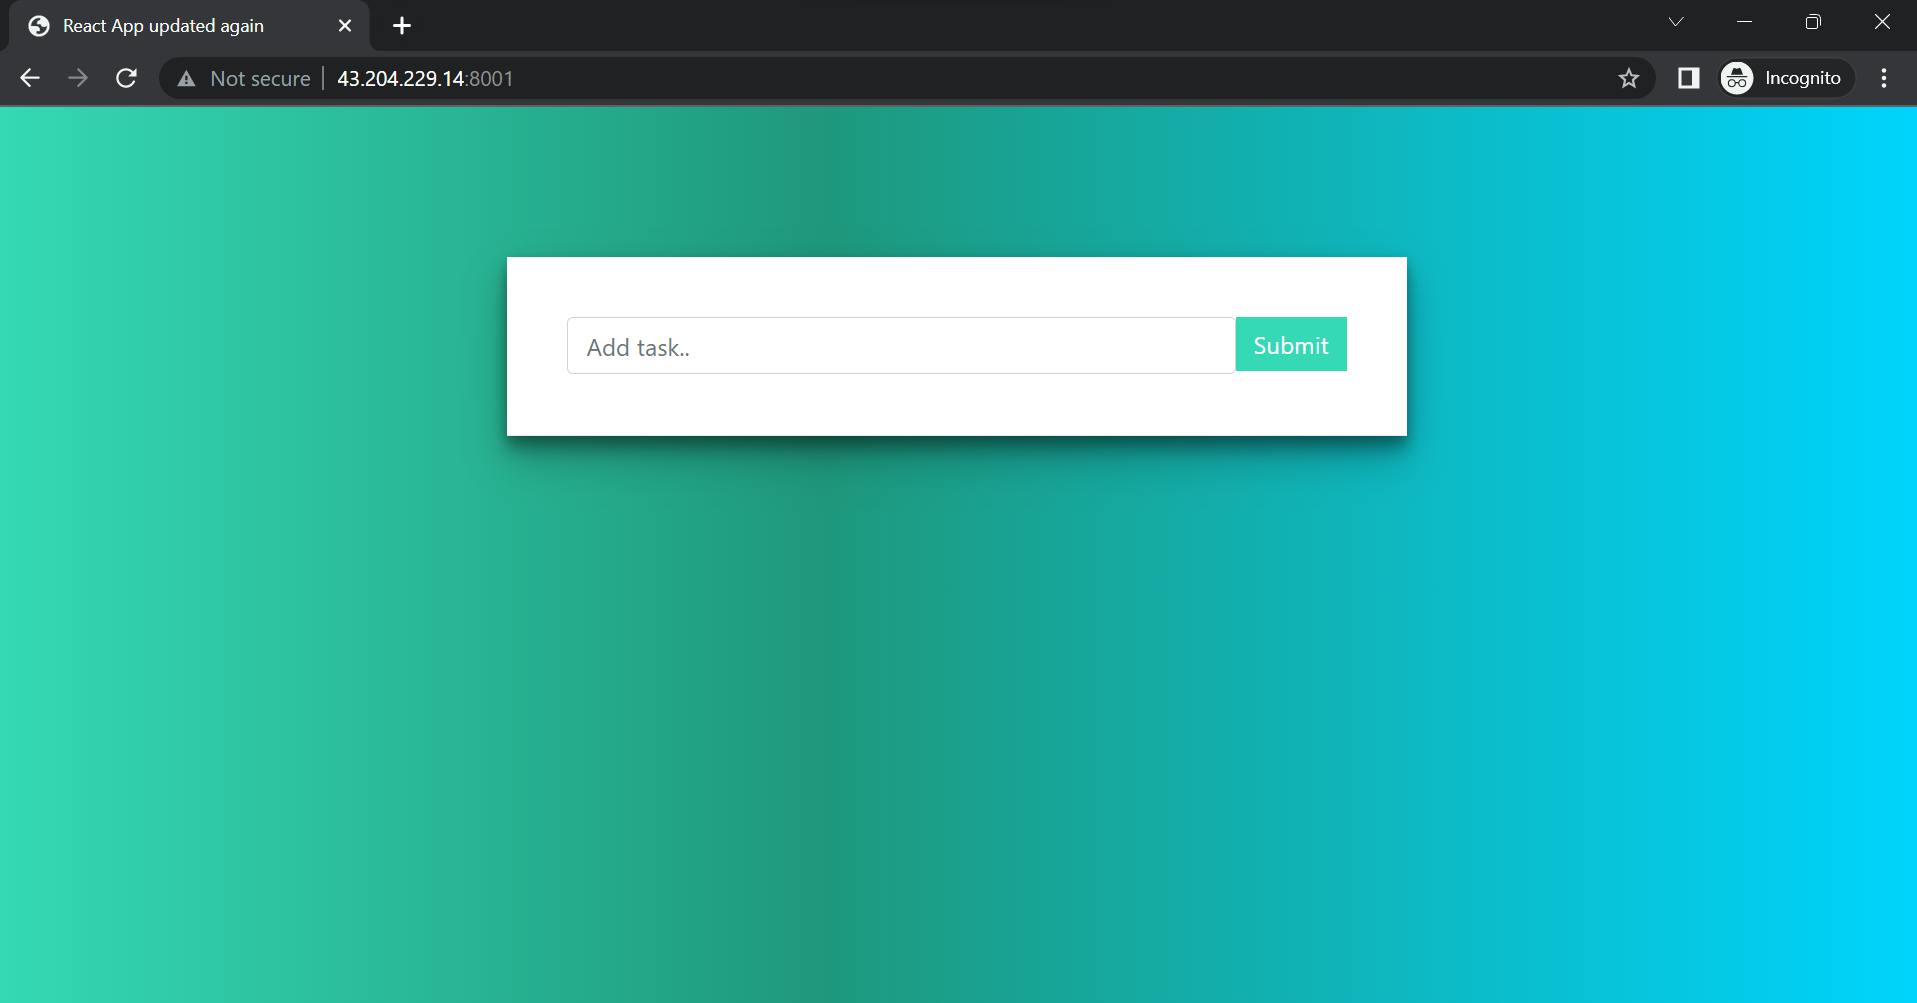
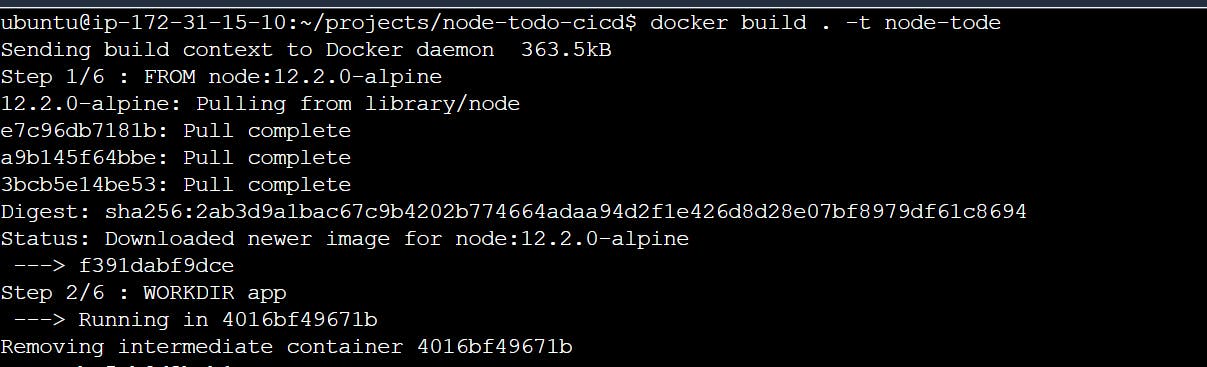
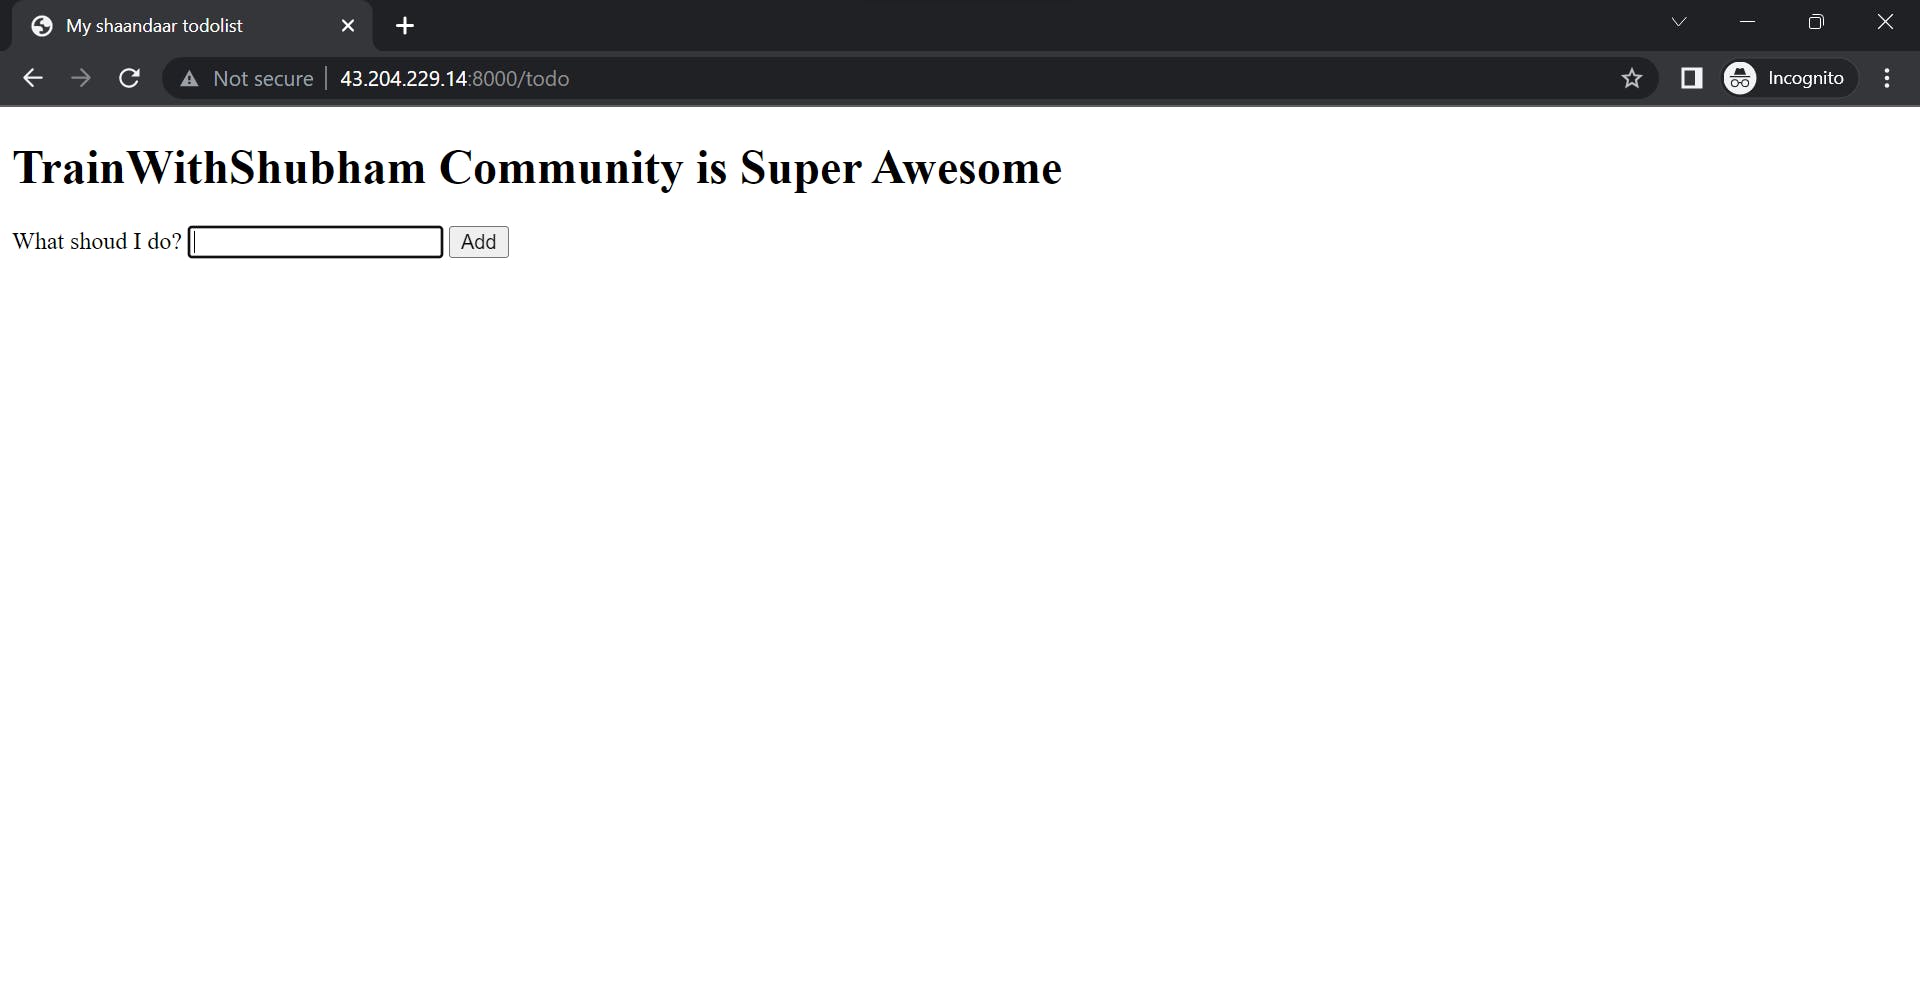
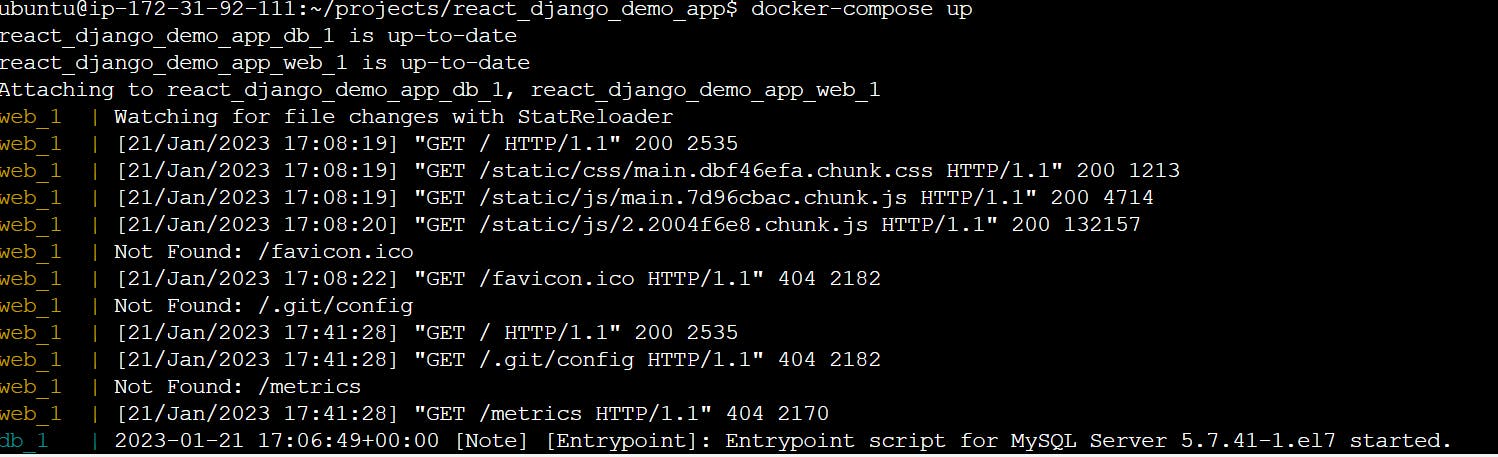
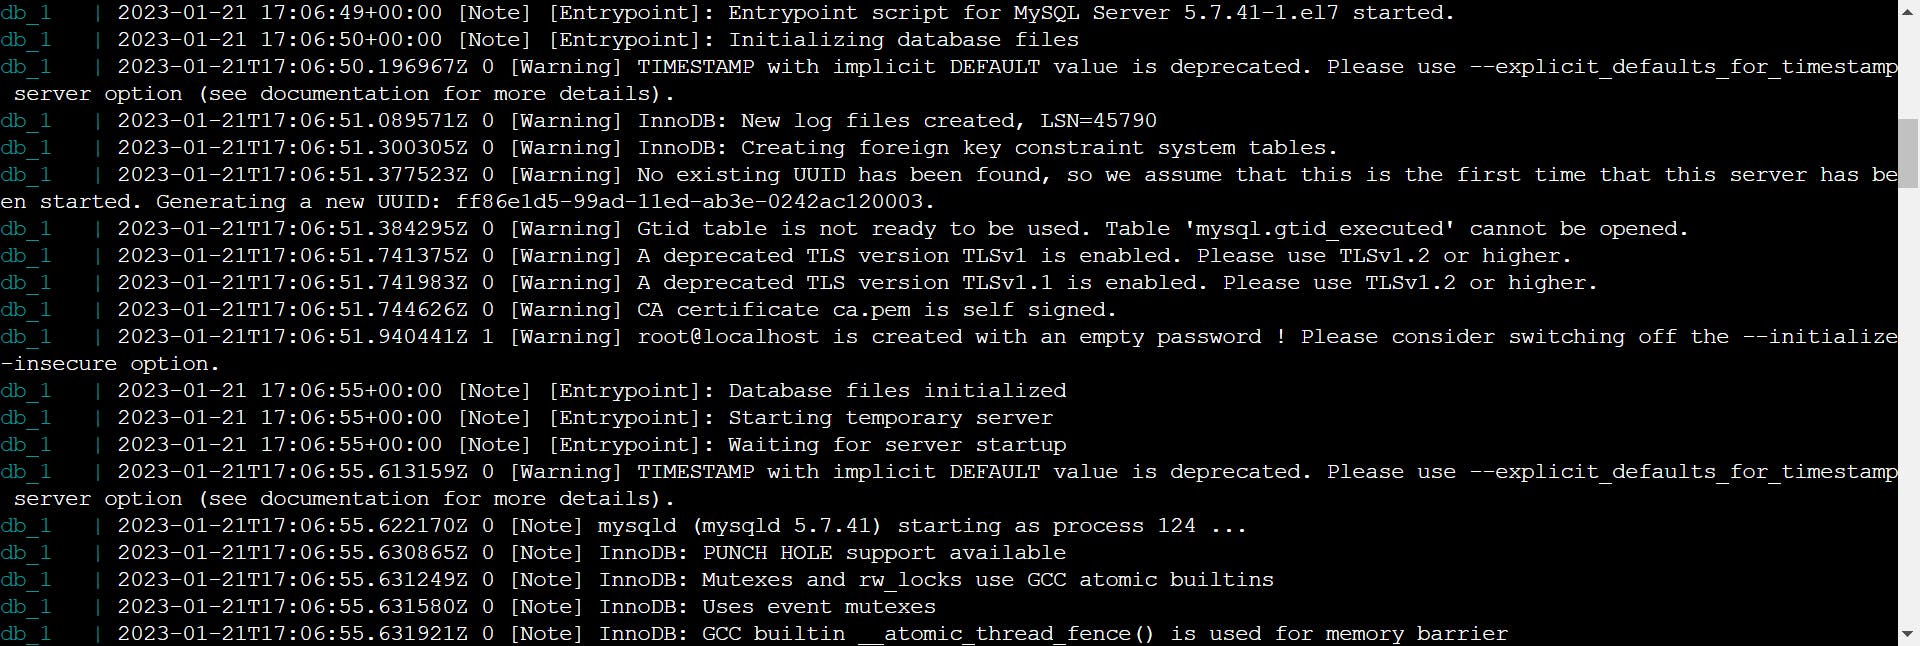
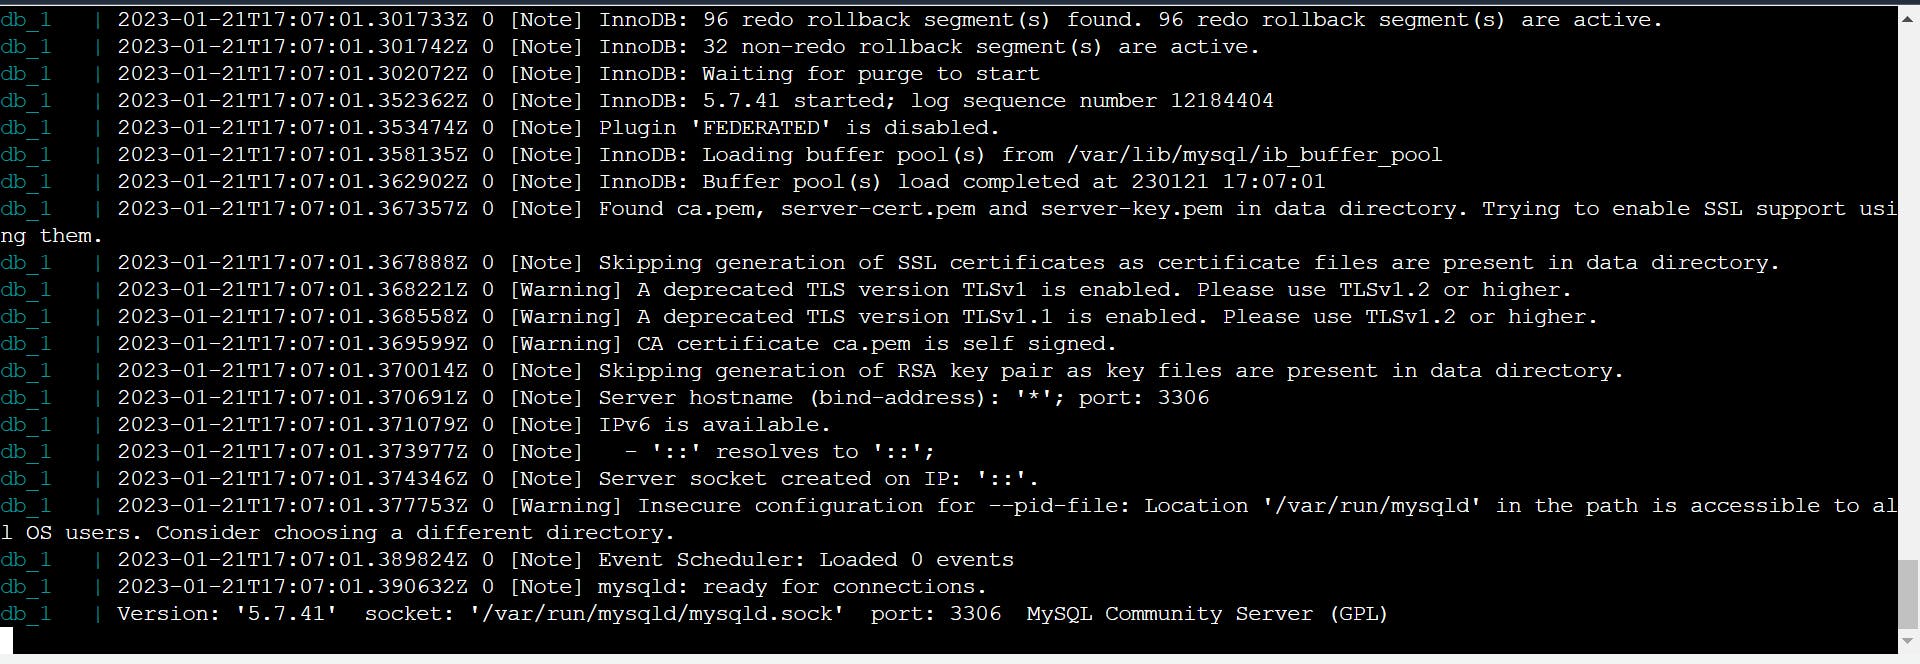
PROJECT 1 : React_django_demo_app dockerzid (python-project)


Diffrence between CMD and RUN
RUN is an image build step, the state of the container after a RUN the command will be committed to the container image. A Dockerfile can have many RUN steps that layer on top of one another to build the image.
CMD is the command the container executes by default when you launch the built image.
The run command is used to create a new container from an image, while the cmd instruction in the Dockerfile is used to specify the default command to run when a container is started from that image. The run command can be used to override the default command specified by the cmd instruction.
The difference between Build, Run and create
docker build builds a new image from the source code.
docker create creates a writeable container from the image and prepares it for running.
docker run creates the container (same as docker create) and runs it.
Php File example
FROM php:7.0-apache
COPY. /var/www/PHP
Docker Python Application Example
Docker Ruby Application Example
FROM ruby:2
COPY . /var/www/ruby
WORKDIR /var/www/ruby
CMD ["ruby","index.rb"]
What is a Docker Hub?
It is a public cloud-based registry provided by Docker for storing public images of the containers along with the provision of finding and sharing them.
The images can be pushed to Docker Hub through the
docker pushcommand.
docker login
docker tag image-name username/image-name
sudo docker tag todo-app safiakhatoon/react_django_demoapp

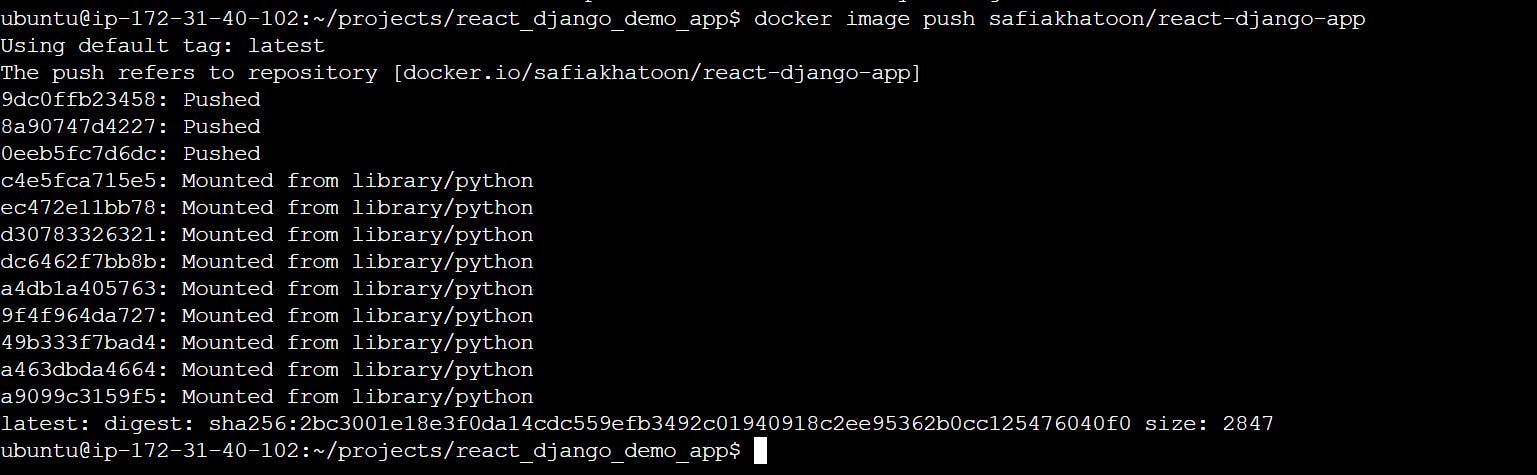
username refers to our docker id or the username which is used to log in.
image-name is the name of our docker image present on our system.
docker push username/image-name
PROJECT - 2( node-todo dockerized{java_application})


Difference between copy and ADD
Both the commands have similar functionality, but
COPYis more preferred because of its higher transparency level than that ofADD.copy is used for local. but add is used when you something download to the internet or any URL download from the internet.
COPYprovides just the basic support of copying local files into the container whereasADDprovides additional features like remote URL and tar extraction support.Let’s compare the differences in a tabular form:
COPY COMMAND
ADD COMMAND
COPY is a docker file command that copies files from a local source location to a destination in the Docker container.
ADD command is used to copy files/directories into a Docker image.
Syntax: COPY <src> <dest>
Syntax: ADD source destination
It only has only one assigned function.
It can also copy files from a URL.
Its role is to duplicate files/directories in a specified location in their existing format.
ADD command is used to download an external file and copy it to the wanted destination.
If we want to avoid backward compatibility, we should use the COPY command.
ADD command is less usable than the COPY command.
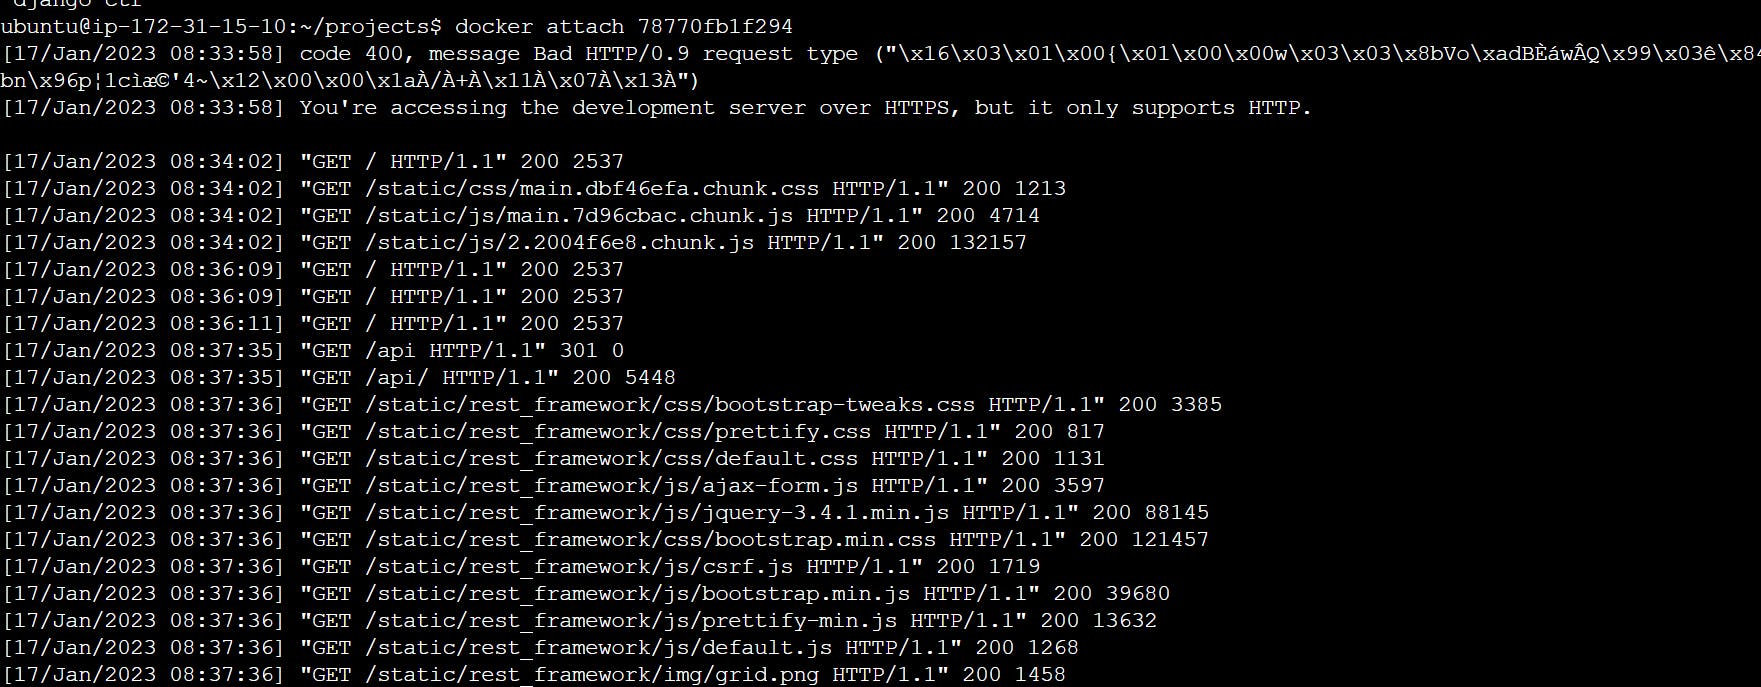
How to check the log
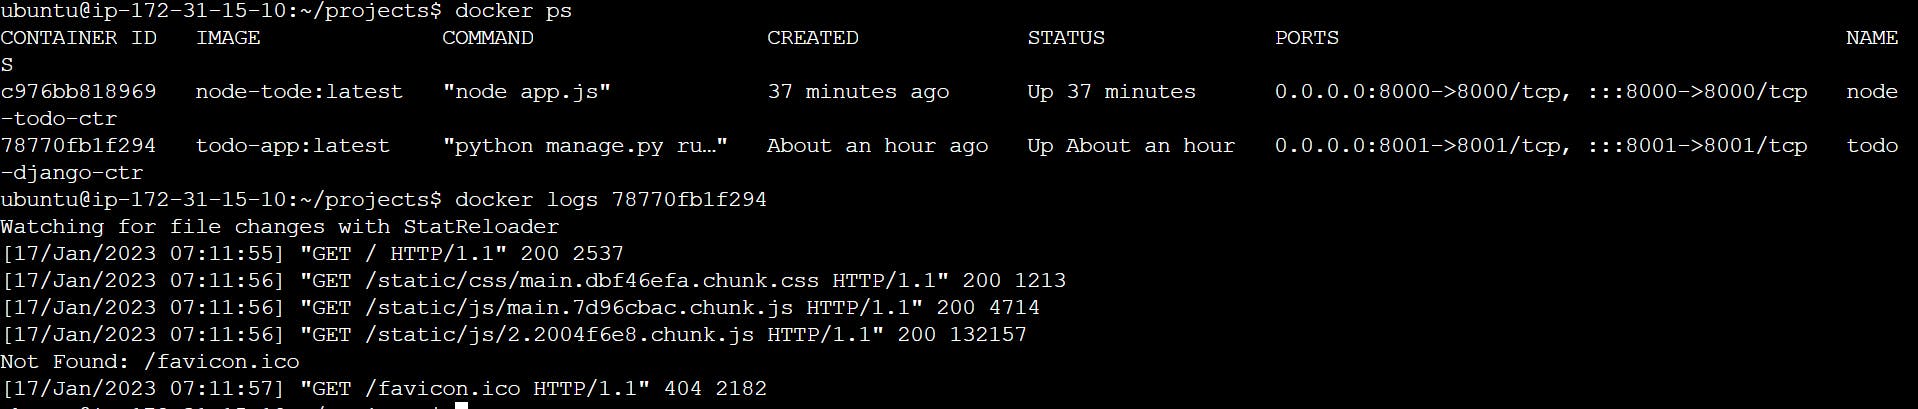
docker logs <container_id>
How to check logs in real time

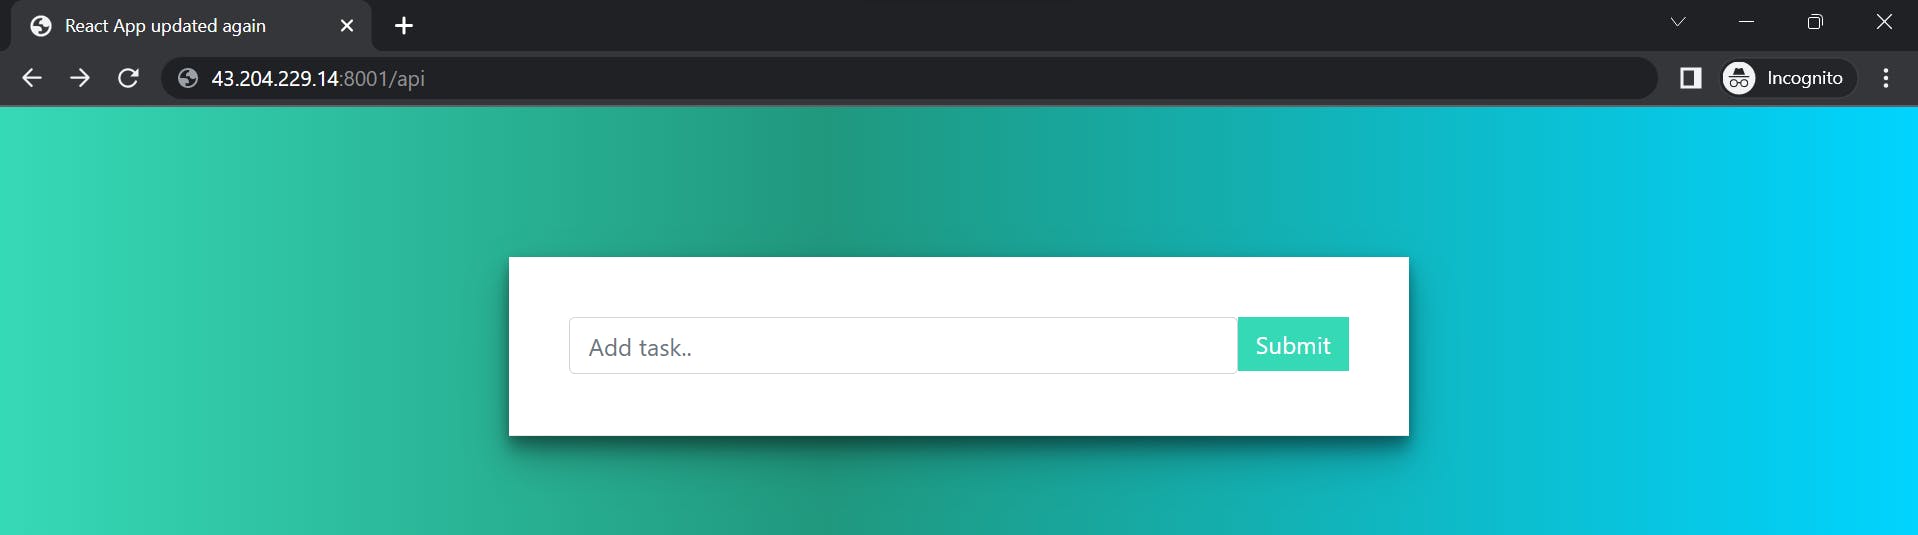
refresh this page and create a log or /api
Docker-Volume

why do we need docker volume?
suppose let us a scenario where there is one container without volume in case the docker is gone everything will go.so we use docker volume to store the data related to the container, in this case, the container is gone but still, docker volume exists. you can share one volume across any number of containers.
even if we stop the container still we can access volume.
the volume will be created in one container.
and most important you can declare a directory as volume only while creating the container. you can't create volume from the existing container.
advantages of docker volume:
Volumes can be more safely shared among multiple containers
Volumes are easier to back up or migrate than bind mounts.
Volumes work on both Linux and Windows containers.
You can manage volumes using Docker CLI commands or the Docker API.
Docker volume is like storage of that container we can store anything in that.
Commands of Docker Volume
Below are the different commands of Docker Volume:
1. create: It is used to create new volumes.
2. ls: It is used to list all the volumes in a namespace.
3. inspect: It is used to know more about any of the volumes.
4. rm: It is used to remove any volume if it is no longer required.
5. prune: It is used to remove all unused volumes.
We can get more information about any command by using the ‘help’ option
docker volume --help
Create a new volume named ‘my-vol’ and list it as below.
docker volume create my-vol docker
volume ls
Check all details of this volume using the ‘inspect’ command as below:
docker volume inspect my-vol
Let’s assume that this volume is no longer required and can be deleted; we can do so using the ‘rm’ command as below:
docker volume rm my-vol
If multiple volumes need to be deleted, we use the ‘prune’ command to delete all unused volumes at once as below:
docker volume prune
mount: mount is like storage suppose your container is deleted bt your volume exists of that container, in that case, you mount the volume of the next container and data is not lost.
practical how to attach the volume to the container
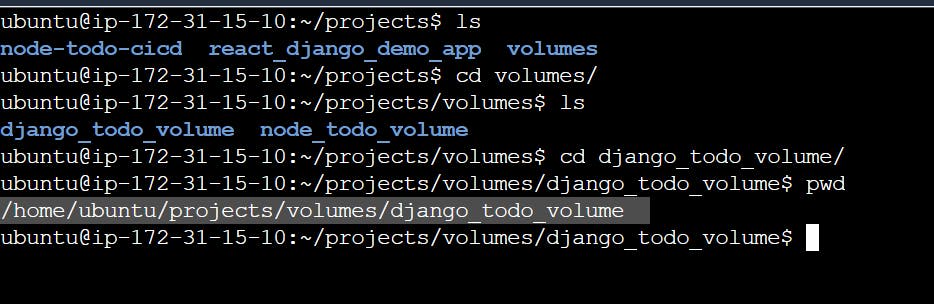
copy that path

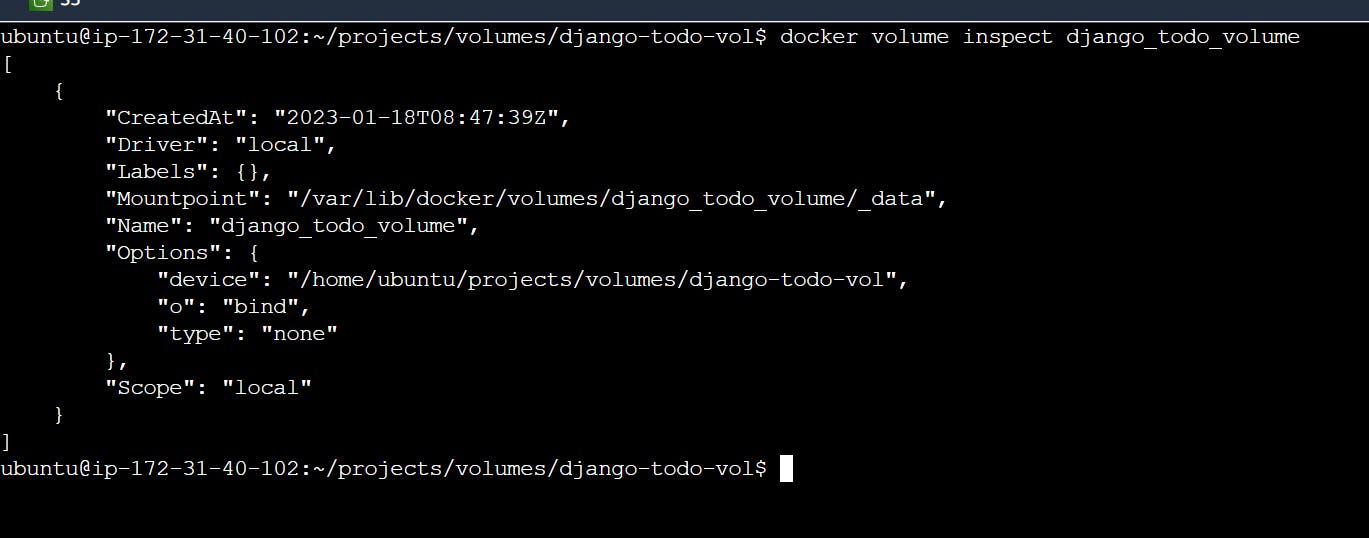
a Mountpoint is that path which is understood by docker.
attach the volume to the container:


inside the container and create some logs
I create a test.log file inside the container but because of the mount, this is created in the system.
Docker Compose:
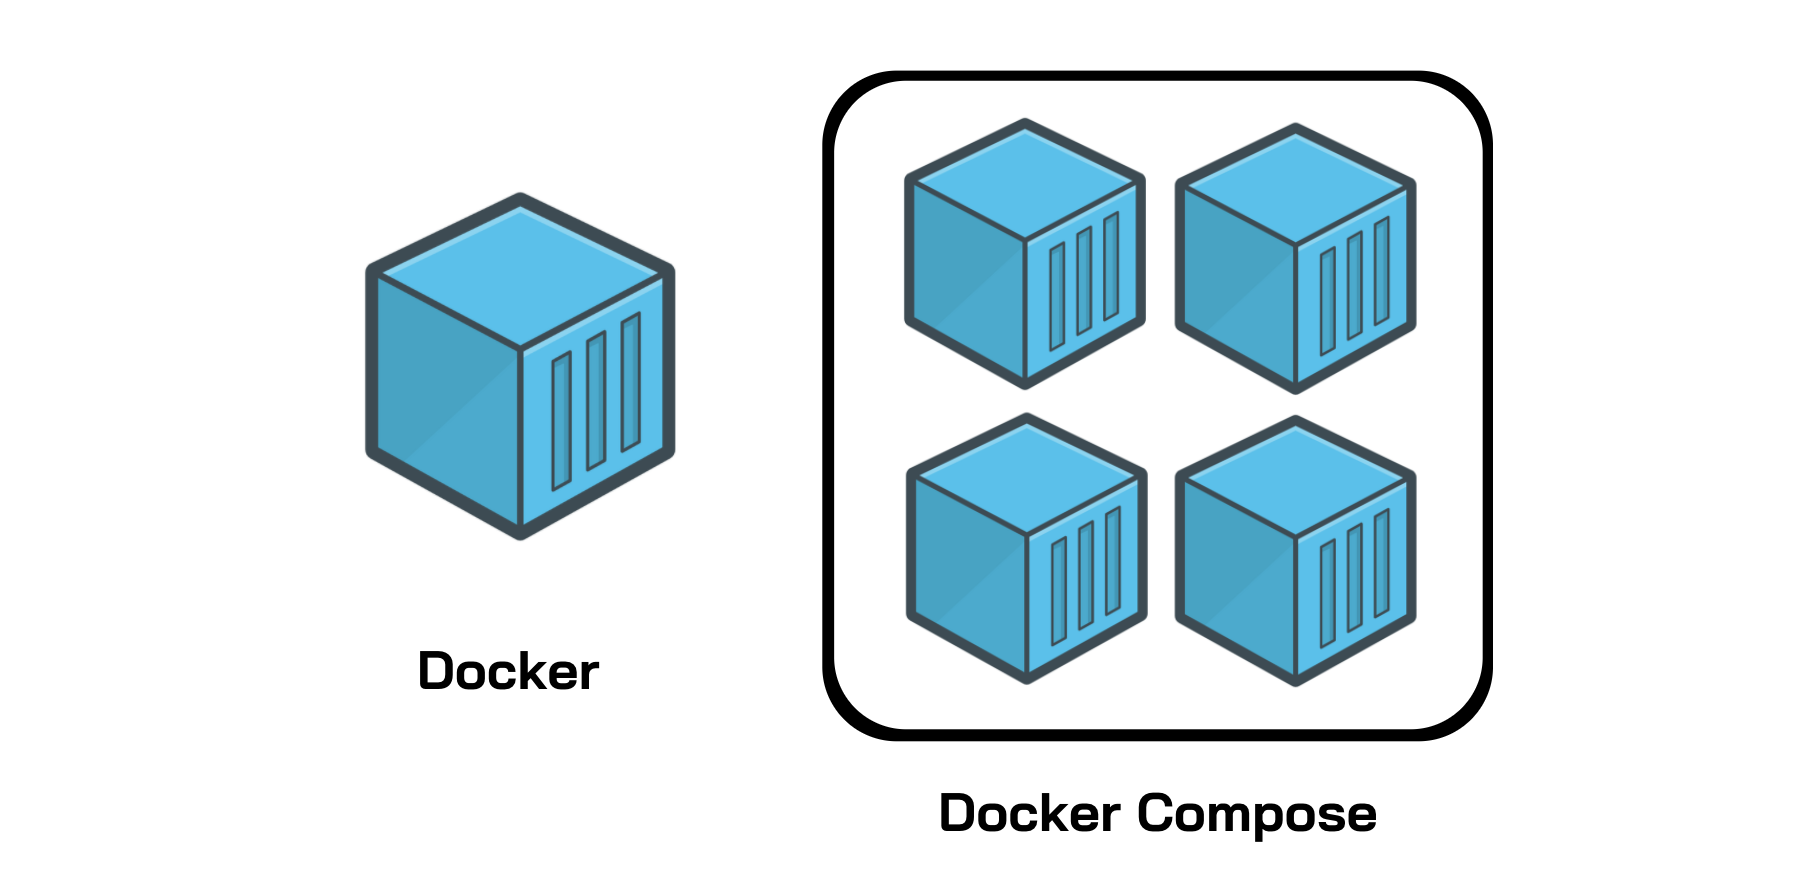
Docker compose is used for handling multiple containers
suppose we create a docker file and then create a docker image and then create a container in that process only one container is created so it is easy to manage only one container but let us a scenario there are multiple containers one is for the frontend second one is for backend and the third one is a database so it is very difficult to manage all container in the same time so here is used docker composed command.
Docker Compose is a Docker tool used to define and run multi-container applications.
It is a great tool for development, testing, and staging environments.
It provides the following commands for managing the whole lifecycle of our application.
Start, stop and rebuild services
View the status of running services
Stream the log output of running services
Run a one-off command on a service
How to use and install Docker Compose
- Test the installation to check it worked properly

Docker Compose file structure

you create a YAML configuration file and define in it which container and how many containers are created and which port is open of that container and which volumes are mounted of that container anything is defined in that file.
here build: . - docker file directory path and . means docker file is in that directory.
3306 port is mysql


What is a Docker Swarm?
Before understanding the Docker Swarm, we need to know the meaning of the term "Docker" and "Swarm."
Docker
Docker is a lightweight package of software that has all the dependencies, libraries and frameworks that are required to run an application.
Swarm
The term "swarm" refers to a group of anything e.g., nodes
Docker Swarm
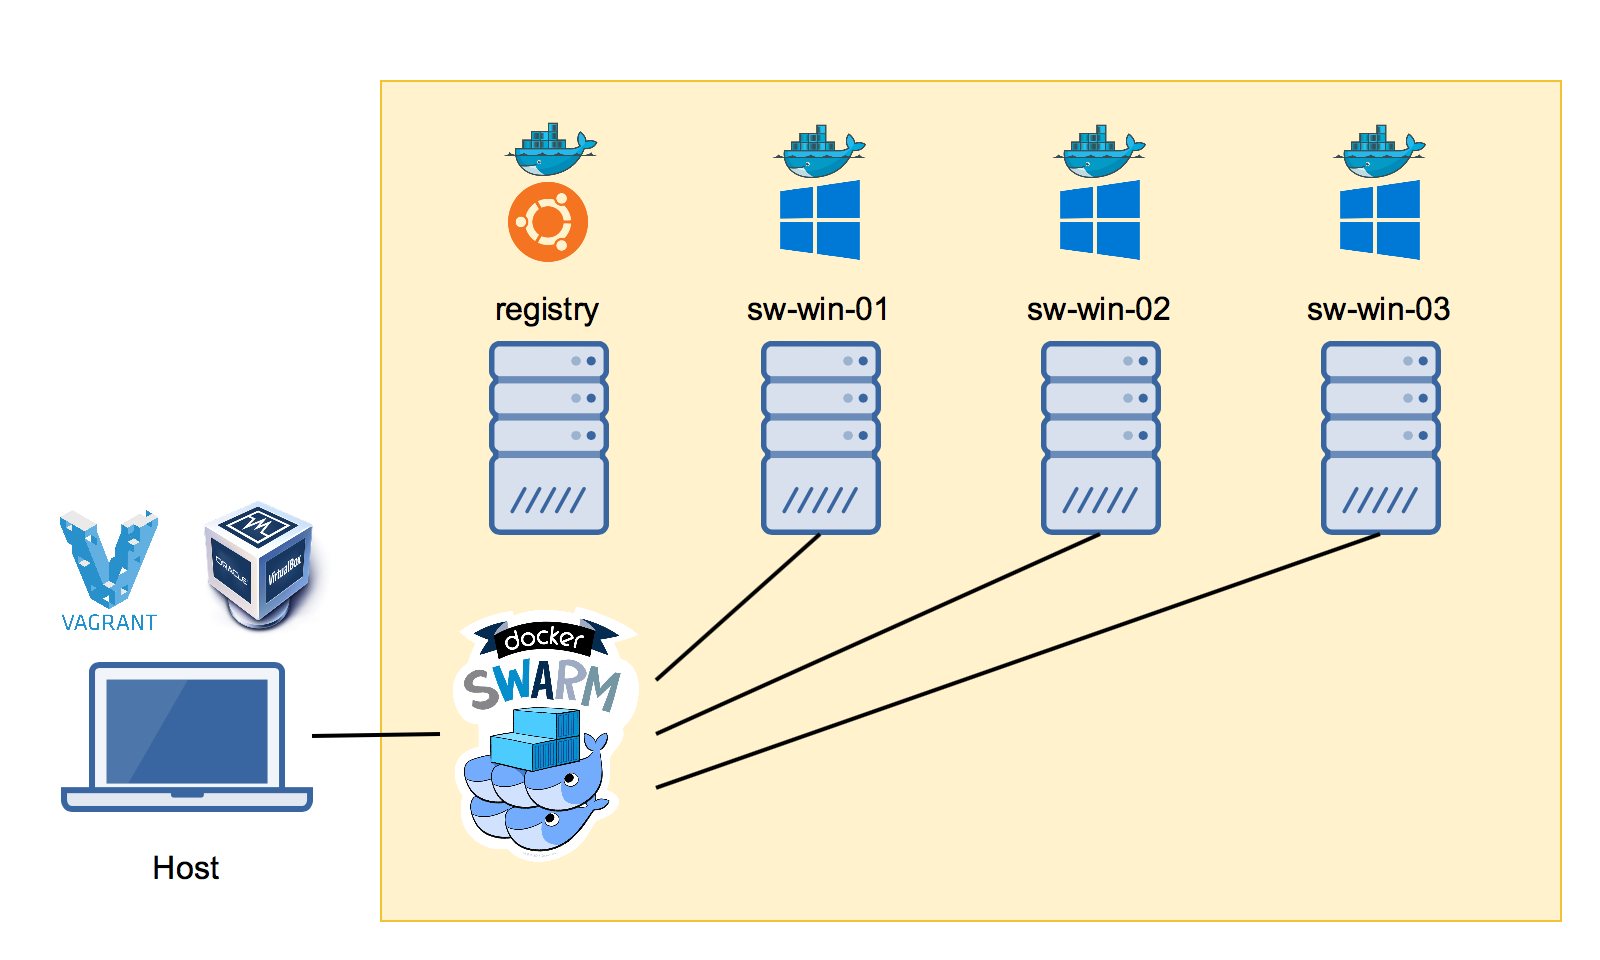
docker swarm is part of docker_engine
what is a task in a docker swarm: the task is running a docker container in a worker node.
Imagine you have a website that receives a high volume of traffic, and you need to ensure that it is always available and responsive. You have decided to use Docker containers to run your website, as they provide a lightweight and portable way to package and deploy your application.
However, as your website grows in popularity, you need to scale up your infrastructure to handle the increased traffic. This is where Docker Swarm comes in.
With Docker Swarm, you can create a cluster of Docker nodes (servers) that work together to run your application. You can deploy your website as a Docker service, which is a group of containers that run the same application. Docker Swarm will automatically distribute the containers across the nodes in the cluster, ensuring that your website is highly available and responsive.
As traffic to your website increases, Docker Swarm can automatically scale up the number of containers running the application, and distribute them across the nodes in the cluster. This provides automatic load balancing, ensuring that your website can handle the increased traffic.
In summary, Docker Swarm is a powerful tool for managing containerized applications, providing features such as automated load balancing, service discovery, and rolling updates. It allows you to easily manage and scale your applications across multiple Docker hosts, making it an ideal solution for deploying large-scale containerized applications.
What is Docker service?
Docker Service can run one type of Docker Image on various containers located on different nodes to perform the same functionality.
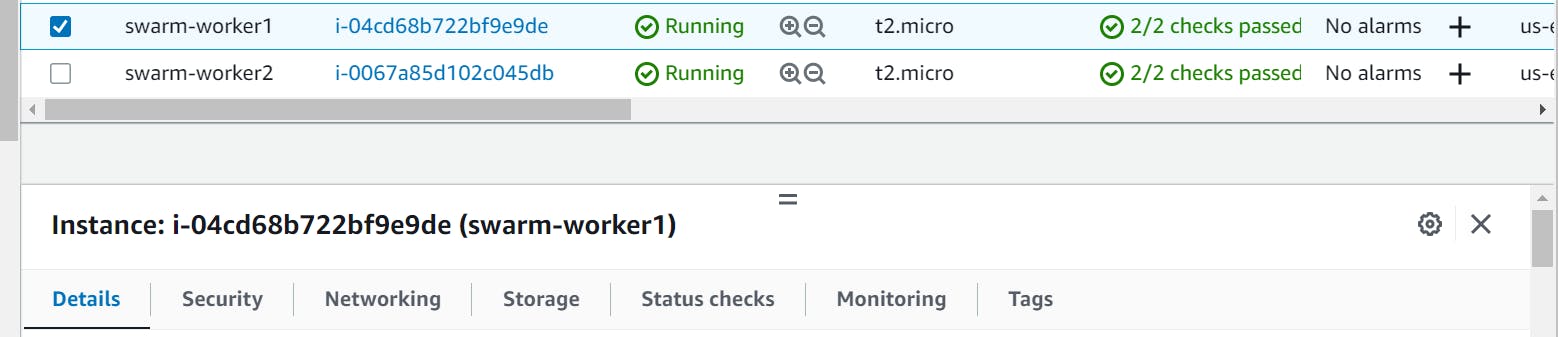
Hands-on
step -1
create 3 instances and in one instance declare the master node and two a worker node in all instances install docker with the help of sudo apt-get install docker.io
sudo usermod -a -G docker $USER
sudo reboot

step -2 (master)
in the master node, you write this command sudo docker swarm init


step - 3
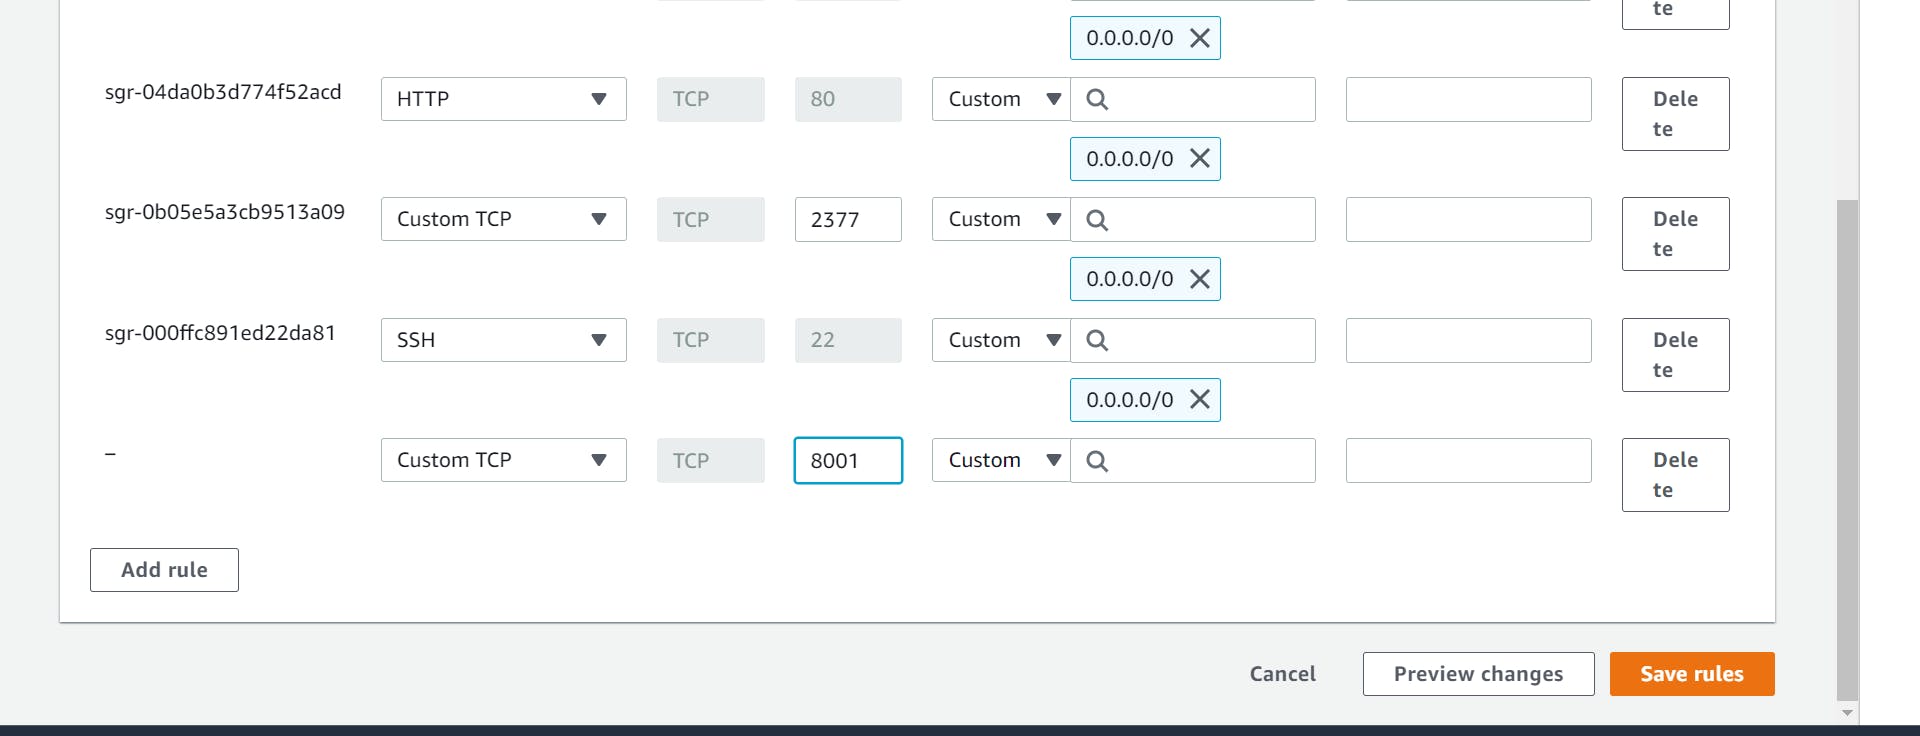
go to your worker node security inbound and allow port 2377.
its ports work to connect the worker node to the master node.
you have the same thing in the second worker node and master node

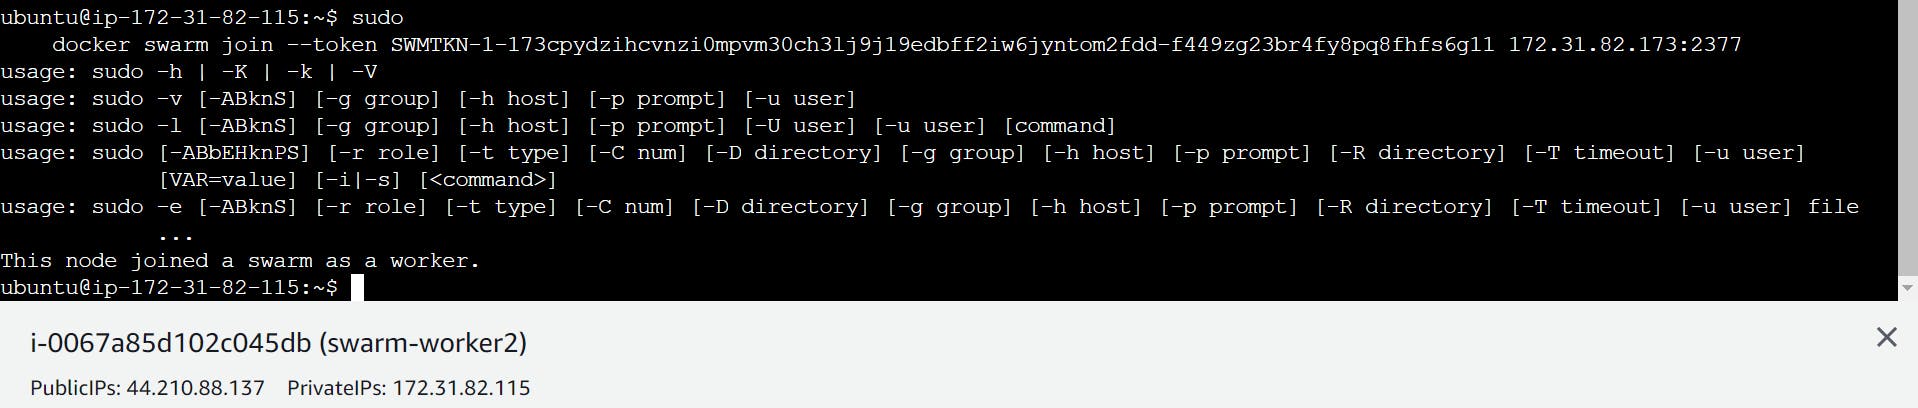
step -4(worker_node)
copy this token to the master and paste
it to the worker node
if you paste the token into the node and see this type of problem
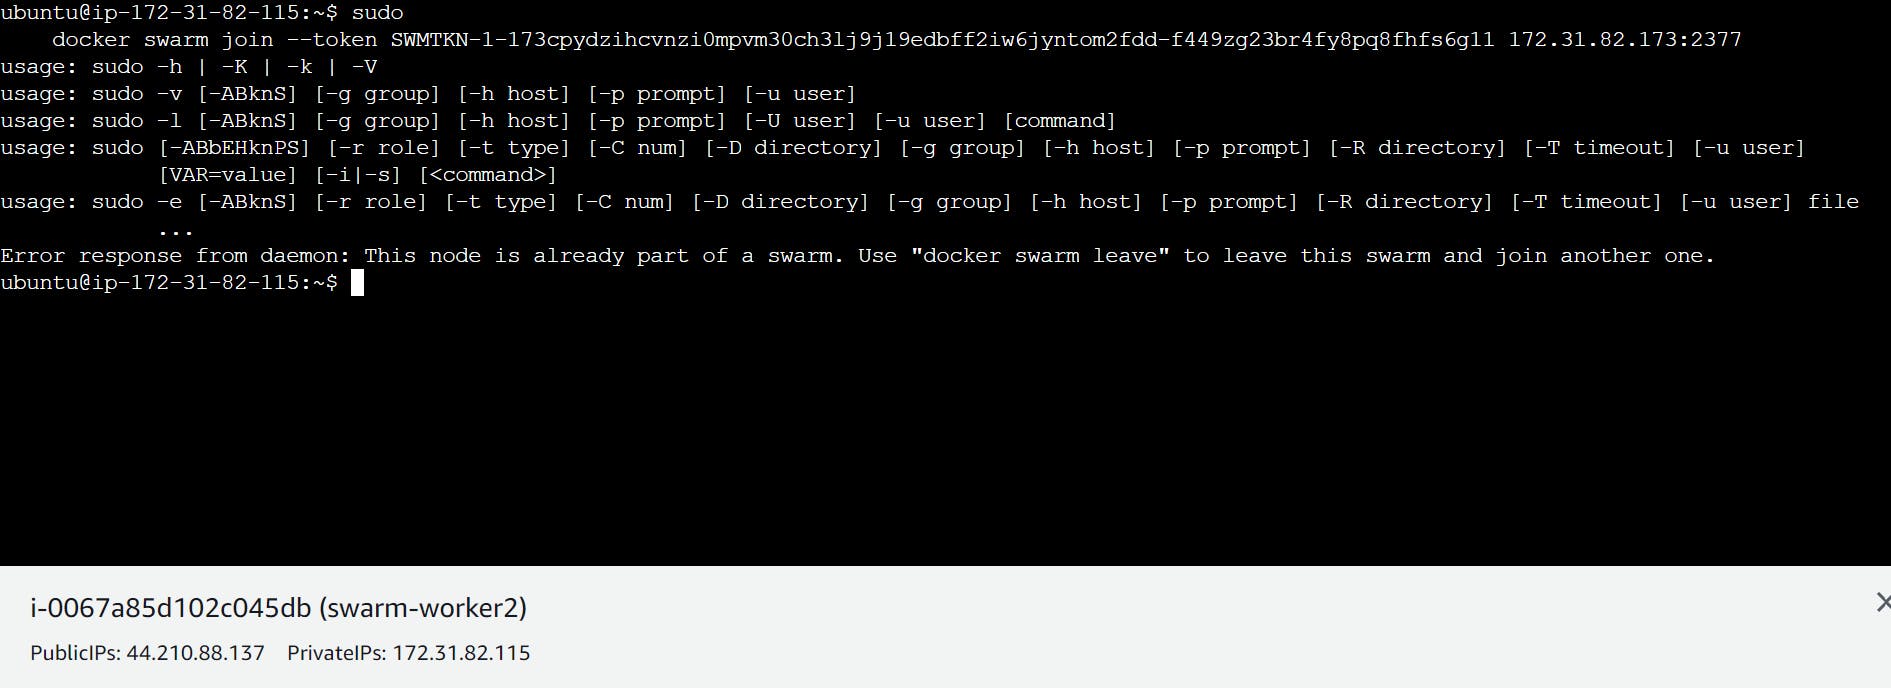
then you solved the problem with the help of this command

sudo docker swarm leave and again use token
step -5(master)
go to your master node and write this command
docker node ls

so this is the concept to add workers in the docker swarm node
in case you remove or clear a screen than in this case token is gone so how to retrieve this token use this command
sudo swarm join-token worker

step - 6(master)
and now we run the Django app with the help of the docker swarm
manager nodes create the service and worker nodes run the service this is the difference between service nodes and workers nodes
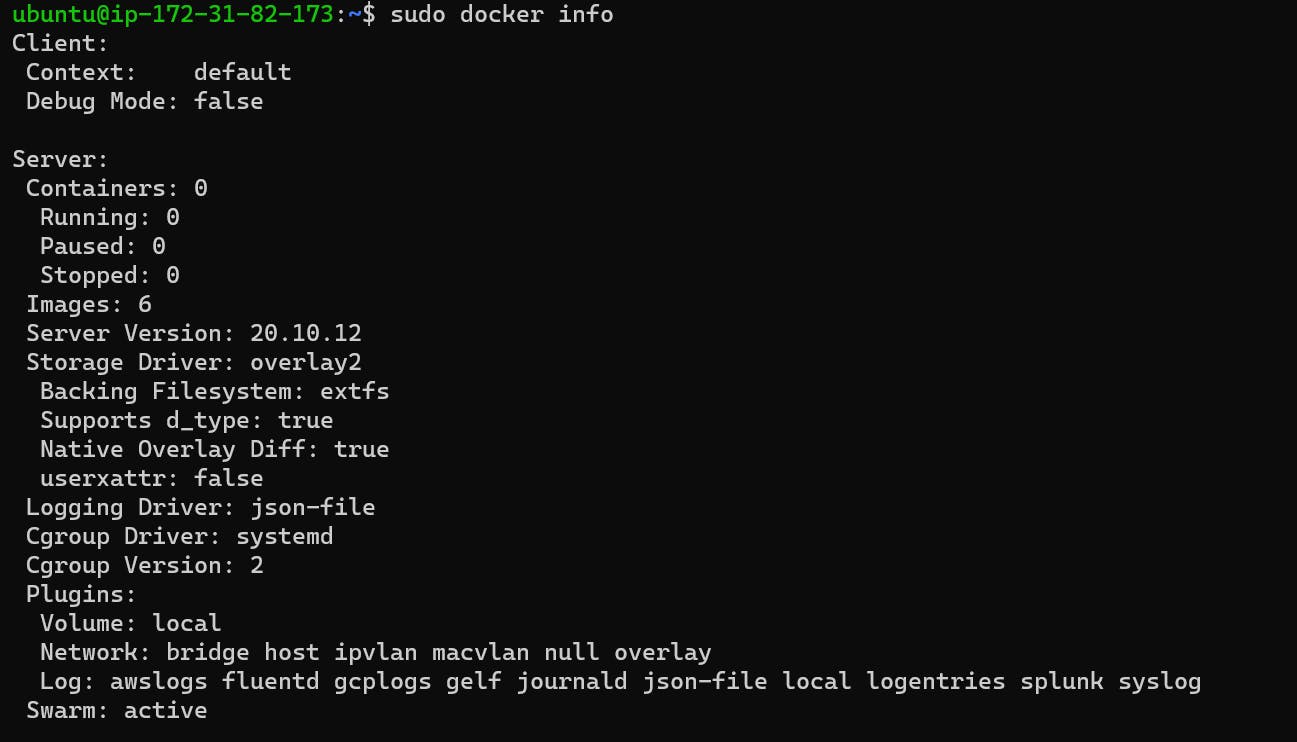
with the help of sudo docker info the command you find the information about your master node and worker node and also find the status of your node active or not
create a service
sudo docker service create --name django-app-service --replicas 3 -p 8001:8001 safiakhatoon/react-django-app:latest

--name - it's a service name you write according to your service you write anything.
--replicas - this is 3 because one is for the master node and the other 2 is for both worker1 and worker2 node.

safiakhatoon/react-django-app:latest - it's an image name that I have already pulled in docker so just copy the image name of the docker hub and paste it.
service converged means the health check off all nodes is done.
step - 7 (master)
sudo docker service ls

sudo docker ps - it's shown running container

step - 8(worker node)


it's awesome you have done your work in master but interesting thing in front of you. only one command in a swarm and all nodes create a container.
step -9 allows 8001 port
step-10
this app is running in all worker's nodes and master nodes.

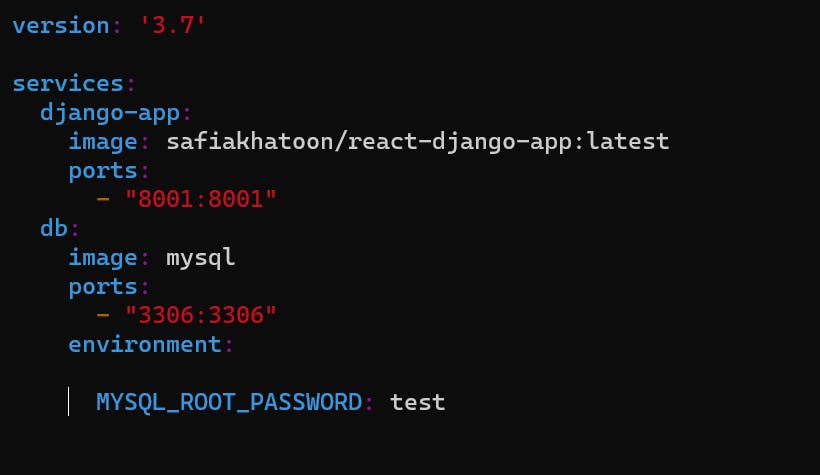
when you add many services in one YAML file with the help of docker swarm (master nodes)
step 1
mkdir deployments
cd deployments
vim django-cluster.yaml

what is a docker stack?
it is a combination of services used in a docker swarm.
How to remove service?

step 2

-c - collect all of the stacks and deploy them.
what is a network?
Docker networking allows you to attach a container to as many networks as you like. You can also attach an already-running container.


in case your server is not loaded like this type of issue is coming


How to check the log

How to remove the stack

PROJECT 3 search_bar_animation
Steps for Deploying a Static HTML Site with Docker and Nginx
Step 1 - Create a Directory for the Website
Make sure that you have your HTML files already in the current directory.
Step 2 - Create a file called Dockerfile
Place the following contents into the Dockerfile
FROM nginx:alpine COPY . /usr/share/nginx/html
These lines of code represent the image we're going to use along with copying the contents of the current directory into the container.
Step 3 - Build the Docker Image for the HTML Server
Run the following command:
docker build -t html-server-image:v1.
You can confirm that this has worked by running the command:
docker images
And it should show you output something like this:

Step 4 - Run the Docker Container
Run the following command to run the HTML container server:
docker run -d -p 80:80 html-server-image:v1
Step 5 - Test the Port with cURL
Run the following command to ensure the server is running:
35.175.126.134:80
You can also view it in the browser now by going to localhost:80 and you should see your HTML file, as shown below:

PROJECT 4 3d Social media icons
Step 1 - Create a Directory for the Website
Make sure that you have your HTML files already in the current directory.
Step 2 - Create a file called Dockerfile
Place the following contents into the Dockerfile
FROM nginx:alpine COPY . /usr/share/nginx/html
These lines of code represent the image we're going to use along with copying the contents of the current directory into the container.
Step 3 - Build the Docker Image for the HTML Server
Run the following command:

docker build . -t img:latest
You can confirm that this has worked by running the command:
docker images
And it should show you output something like this:

Step 4 - Run the Docker Container
Run the following command to run the HTML container server:
docker run -d -p 80:80 html-server-image:v1
Step 5 - Test the Port with cURL
Run the following command to ensure the server is running:
35.175.126.134:80
You can also view it in the browser now by going to localhost:80 and you should see your HTML file, as shown below:

Thank you for reading this blog.Hope it helps.
__ Safia Khatoon